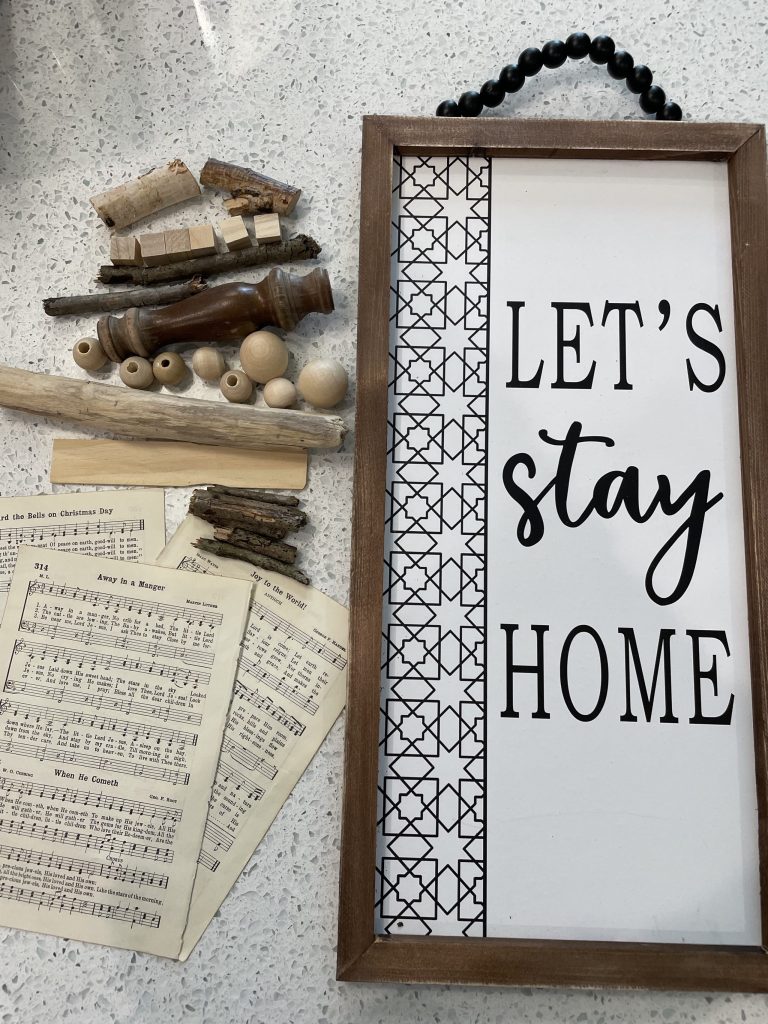
Here’s the deal. I found this lovely “let’s stay home” sign from Dollar General for $5… and although I completely relate to what it’s saying, I had a different vision for it.
Basically, I’m in the Christmas crafting spirit… and I wanted to use this sign to display a mixture of random pieces around my home, to form a Christmas Tree!
I know, I know… It might not be too hard to picture in your head… so keep on reading to see what I came up with!
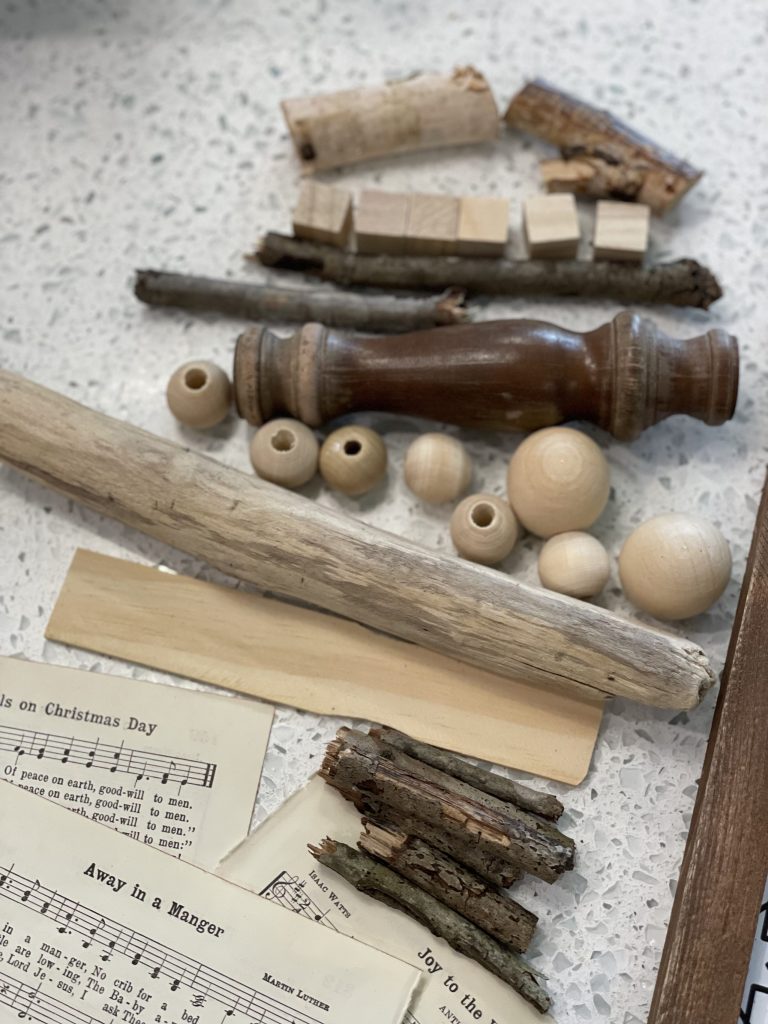
What you’ll need…
*some affiliate links are used! Click on the bolded item to shop my affiliate link.*
- $5 sign from Dollar General (or any sign you have on hand will do)
- hymnal paper
- random pieces of craft supplies (wood beads, buttons, sticks, etc)
- mod podge
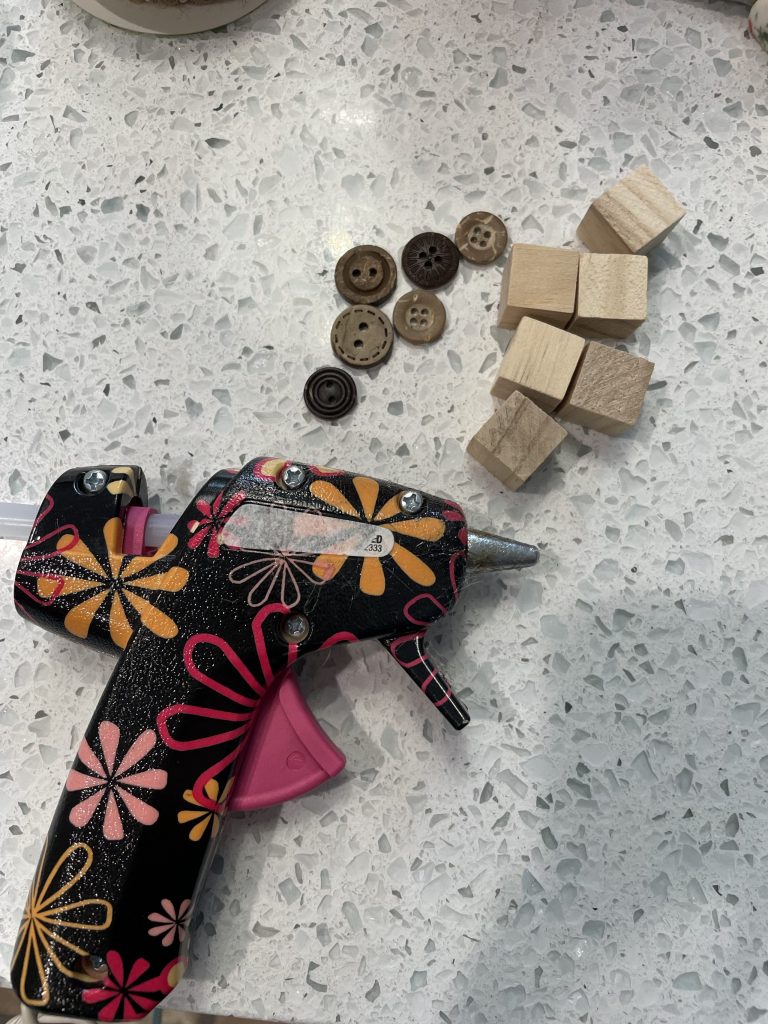
- hot glue
- cookie sheet from Dollar Tree
- Stain (I use Kilz Dark Wax)
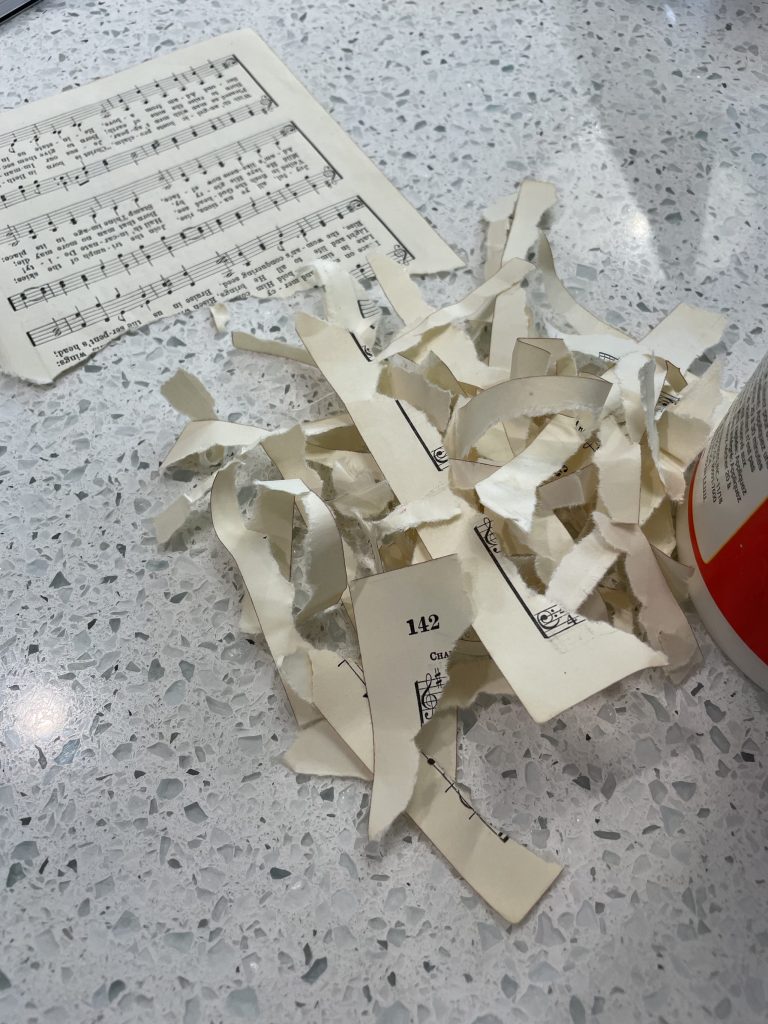
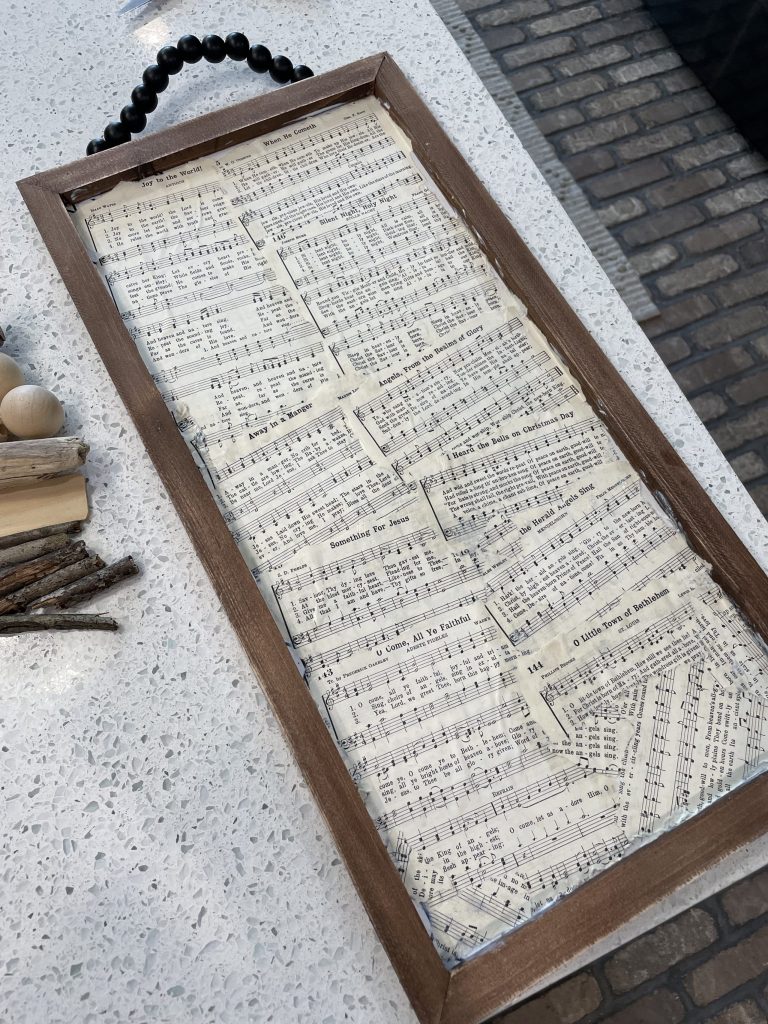
First step… recover your sign! I wanted the background to be strictly hymnal paper… but not just ANY hymnal paper… make sure to use CHRISTMAS hymns!
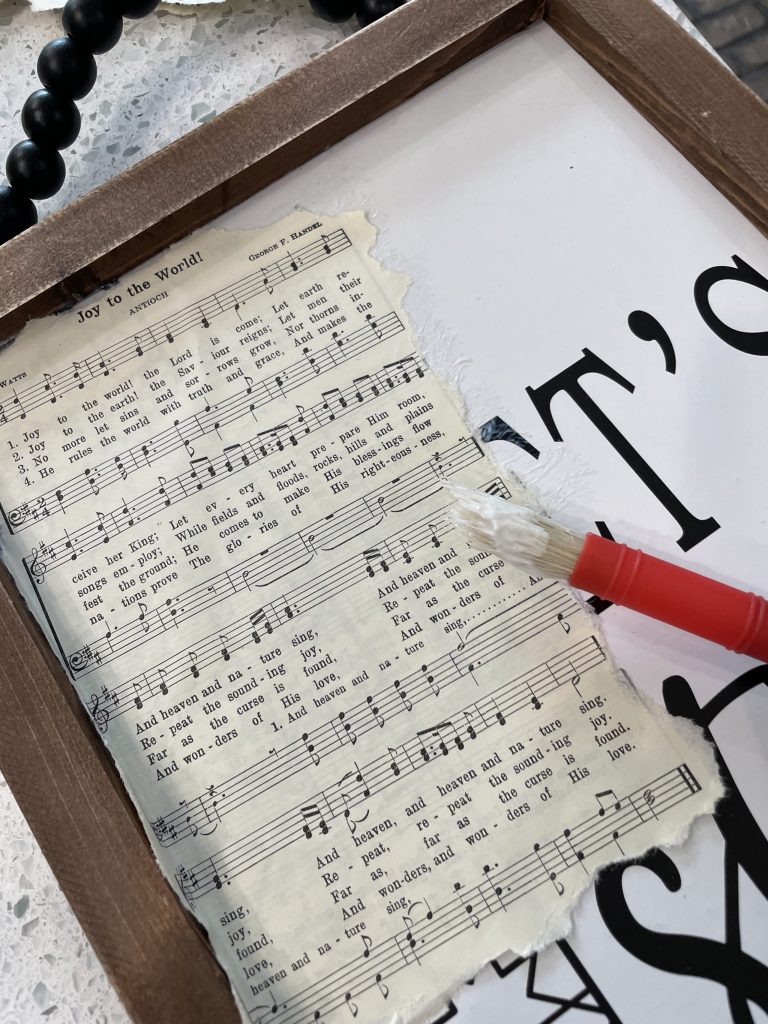
I tore out a few hymns from my old hymnal, and ripped up the edges of the pages to give them a more rugged look.
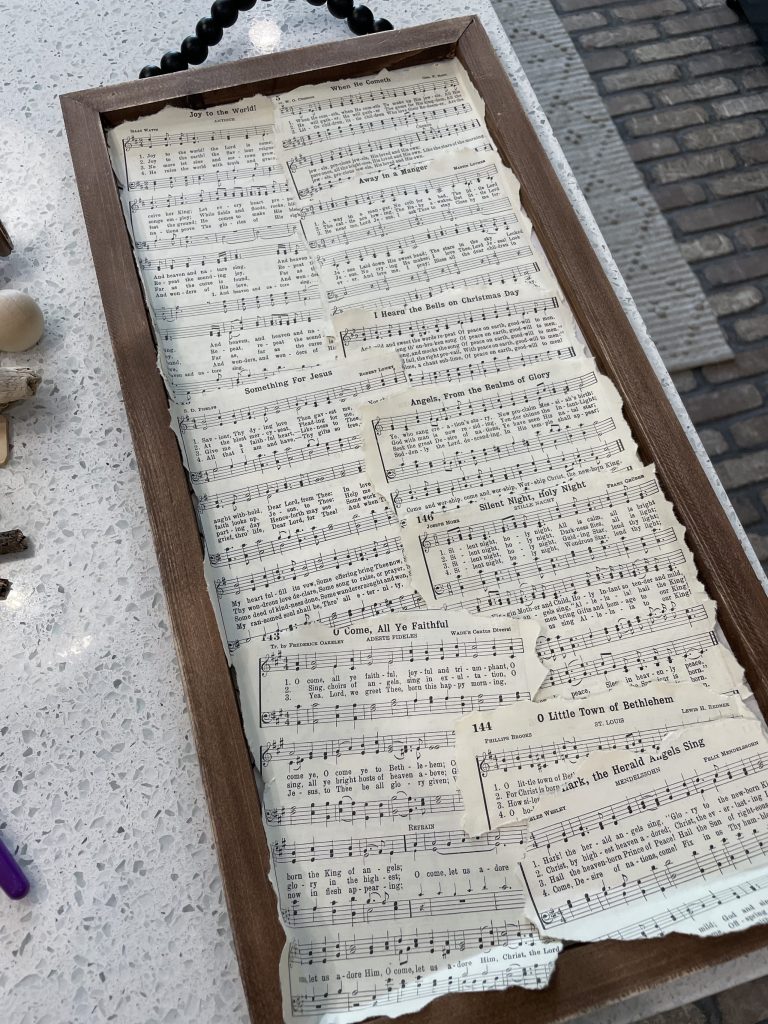
Once you’ve done that, scatter them around on your sign to figure out how you want them placed.
That’s right… now it’s time to MOD PODGE! Simple paint on some mod podge to the sign, then stick your paper right on top. You can also cover the paper with mod podge to help adhere it to the sign even more securely!
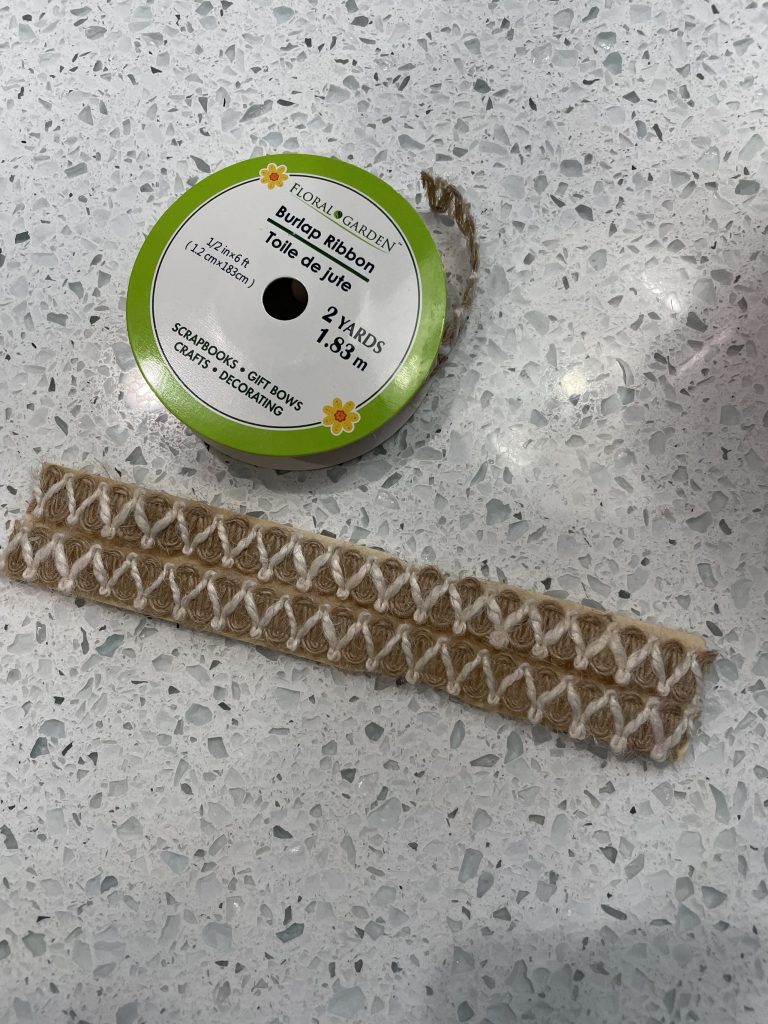
This next part kind of depends on what exactly you are using as your “random pieces”… For instance, I had half of a wooden ruler. I didn’t want to leave it bare, so I hot glued on some Dollar Tree ribbon to it!
Basically, just embellish your pieces to your liking!
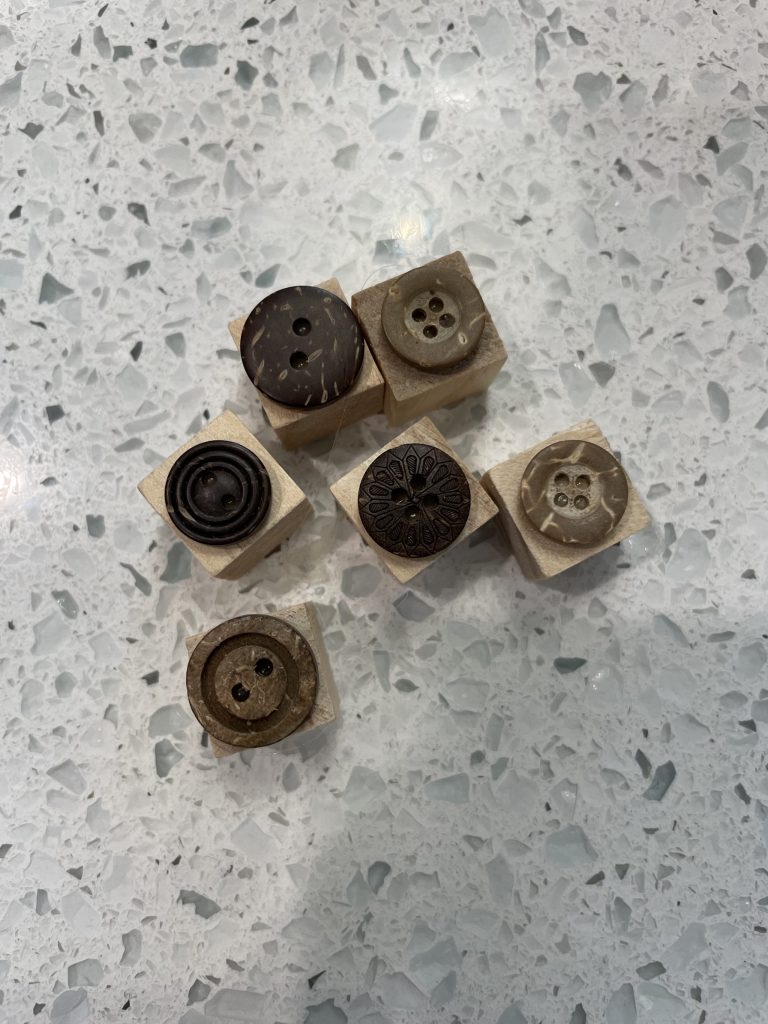
As you can see, I also used some wooden “dice”. Again- I didn’t want to leave them bare, so I hot glued some random buttons to the tops of them!
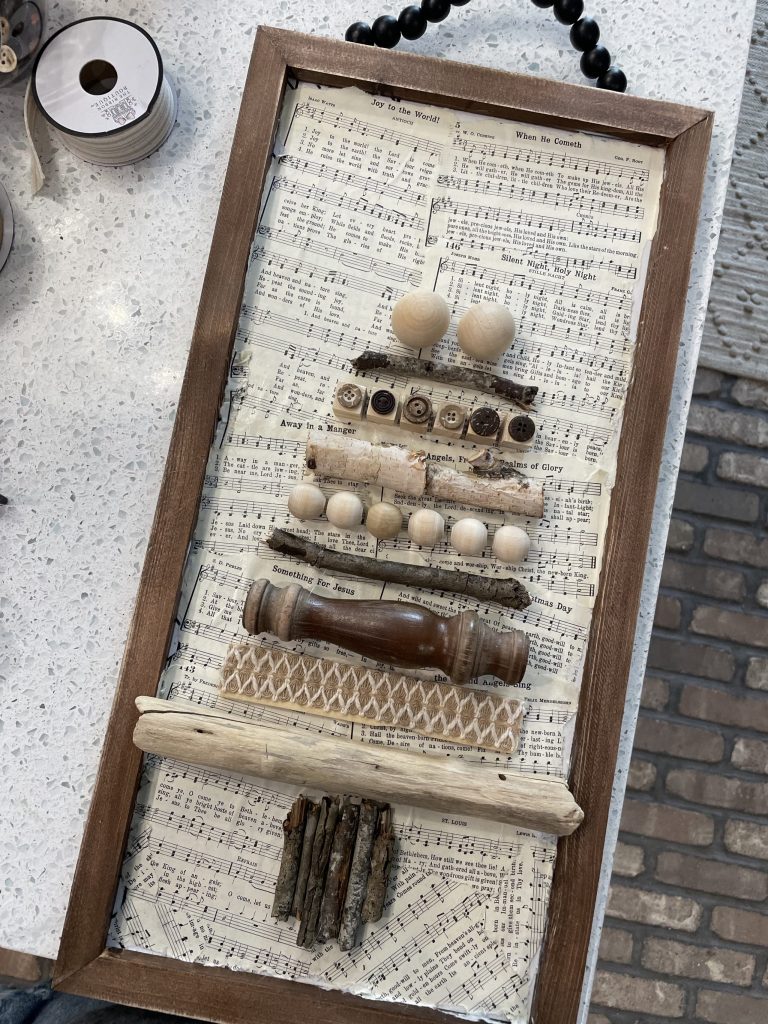
Here’s the fun part… it’s time to arrange everything onto your sign to form a CHRISTMAS TREE!
It took some tweaking to get everything to fit the shape of a tree- but I think it came to be a pretty snazzy tree!
Once everything is where you want it to be, hot glue everything into place.
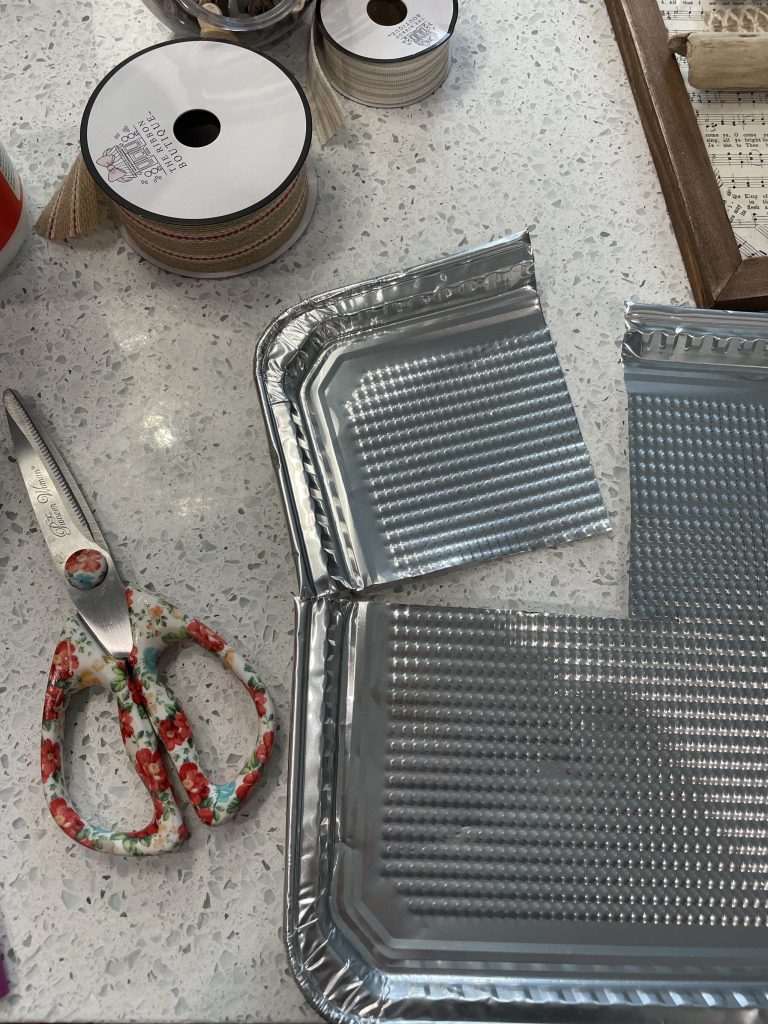
Now… what’s a Christmas Tree without a STAR?!? I decided to cut out a star using a Dollar Tree cookie sheet.
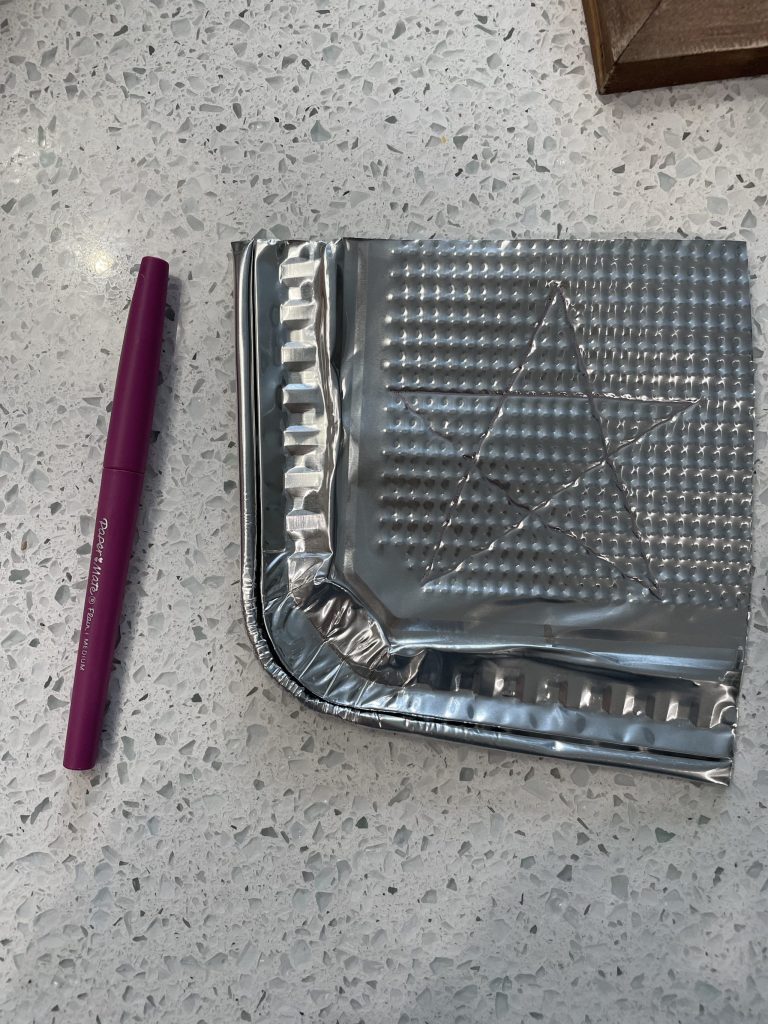
Tip: cut off a little piece of the cookie sheet, THEN trace your star and cut! This makes it much easier.
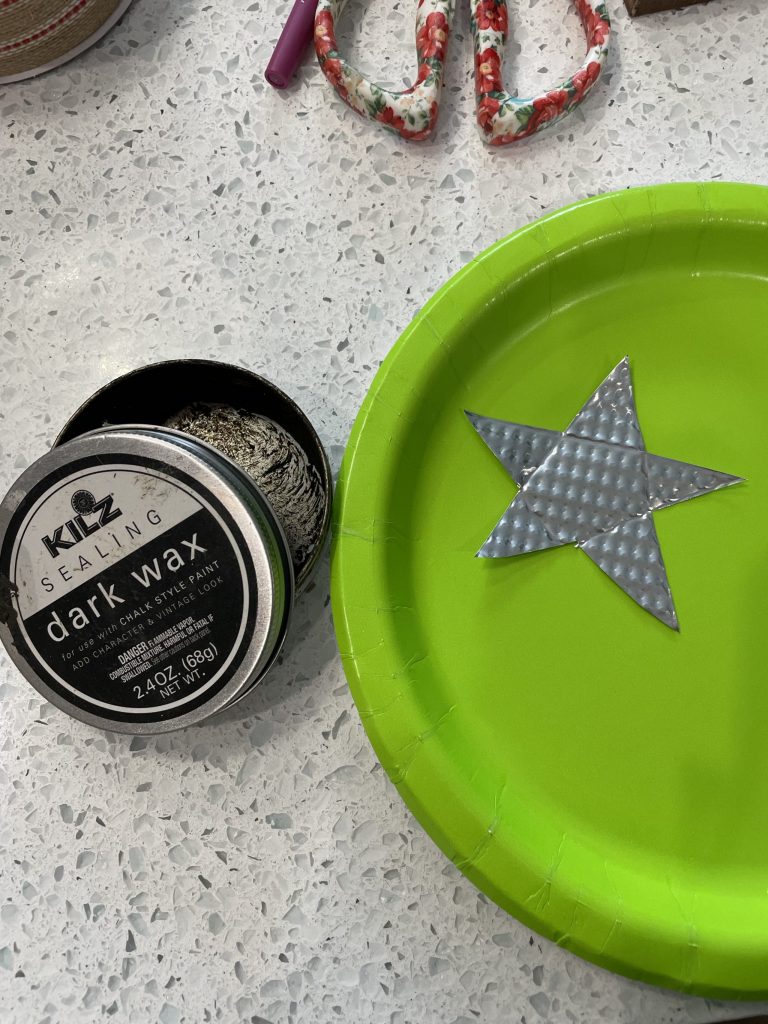
I didn’t want the look of a shiny star… so I decided to distress it a bit!
You already know the drill… I took my FAVE Kilz Dark Wax, and stained my little star!
After hot gluing my star right on top… we are all DONE!!!!

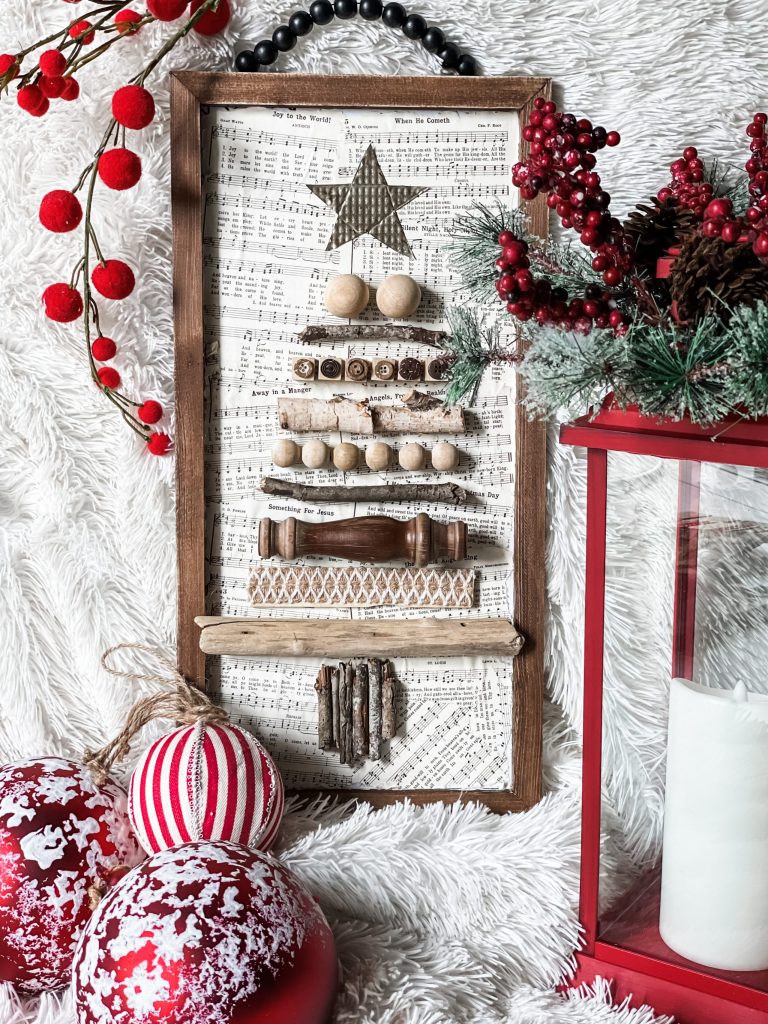
You can’t tell me that this didn’t come together PERFECTLY!!!!
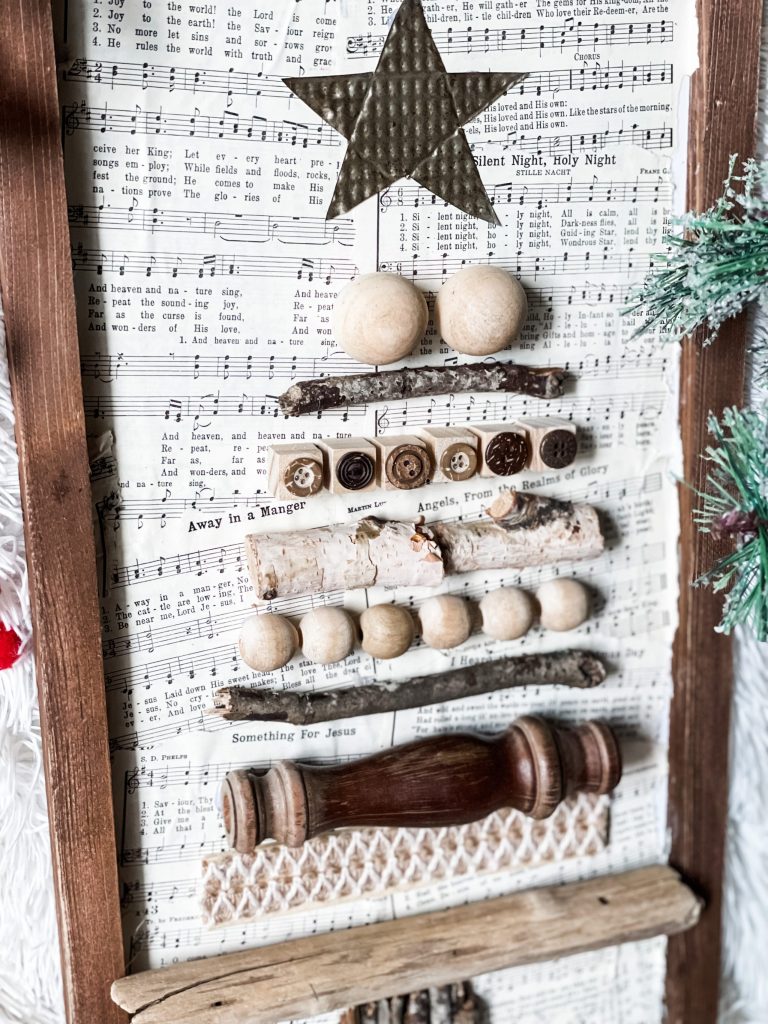
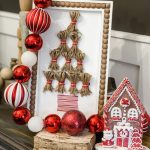
Each and every piece I used to form this tree seemed like it fit just right. It’s rustic, “vintage” looking, and just a little bit farmhouse… all of which I do love!
This project reminds me a LOT of another Christmas craft that I did last year using a Dollar Tree cookie sheet! After you try this one out… check out this tutorial, and make one to match!
Be sure to check out these Christmas projects from the blog as well!
BE SURE TO PIN!!!


Last Updated on July 26, 2021




I love it Brooke. I could never fond Kilz Dk Wax so I just ordered some from Amazon. Should be here Friday. I also copied your vase with tge wooden flowers you found at HL in the wedding section. Will send a picture to see if I did it right.
I absolutely love ❤️ 😍 💖 this tree idea. I’ve seen a few done but I think I love this the most. I live the uniqueness of choosing all the different items for the tree. So many are spindle trees. I love that this is a tree of many things. Going to save this idea in my To Do folder.
Really cute idea!
This is adorable, I love it!
I really like this, beautiful and I love the neutral look -I need make this.
That is so cool ! I love doing DYI stuff for the Holidays !
L.C.