If y’all are in the mood for a fun Christmas craft, then you are in luck! This one took several turns, but it turned out adorable in the end! Come join me for the ride!
So, this entire project was done on a Facebook live, and you can see the entire thing HERE if you want to watch it instead of reading about it!
Now, because I was live, I didn’t get all the typical pictures that I normally would for a blog post, so I am gonna do my best to explain what I used! I started out with a very neutral canvas scroll wall hanger from Hobby Lobby that cost me about $5 on sale.

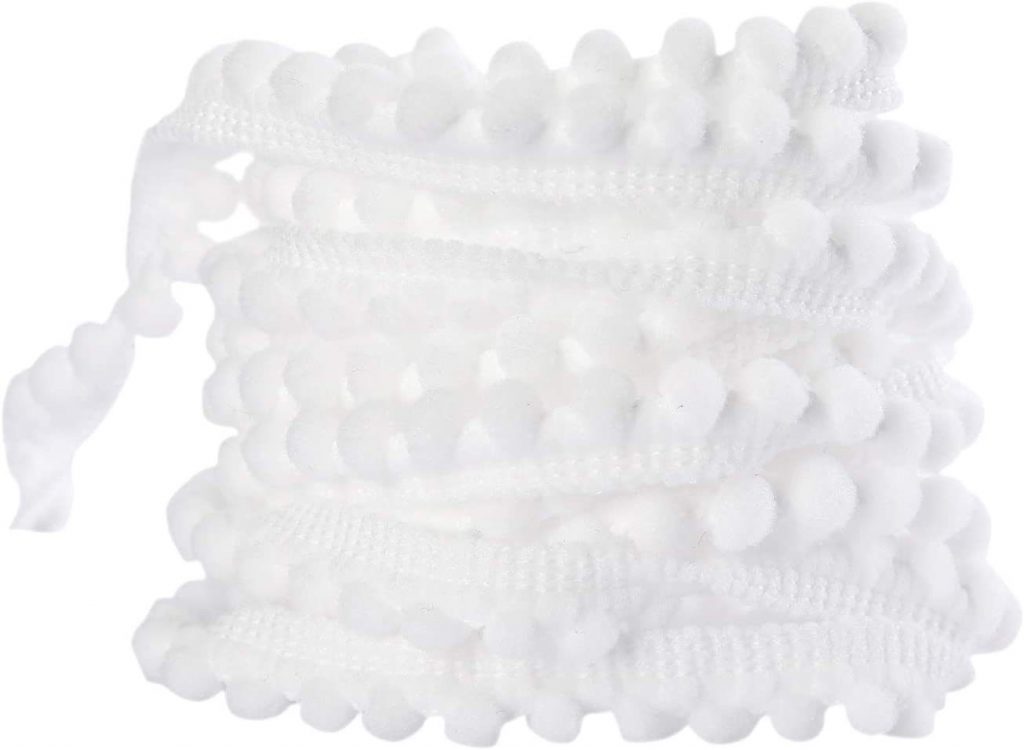
I love to buy these neutral pieces when I see them so I can make them anything I want! I also grabbed my Bright Red craft paint by Apple Barrel and a deep green I love called English Ivy, and a really adorable white pompom ribbon. I got the paint from Walmart, linked HERE…and the pom pom ribbon from Hobby Lobby in their ribbon section!
Here is an option for pom pom ribbon on Amazon for you!
If you’re also a crafter, you’ll SO get this next part…I had a really good piece of cardboard that I knew could be used in a craft someday, and TODAY was the day! LOL! I gathered a few pieces of scrapbook paper and my Mod Podge, then warned y’all that this was gonna be a “Fly By The Seat Of Your Pants” kinda craft day. So hang on tight! LOL!
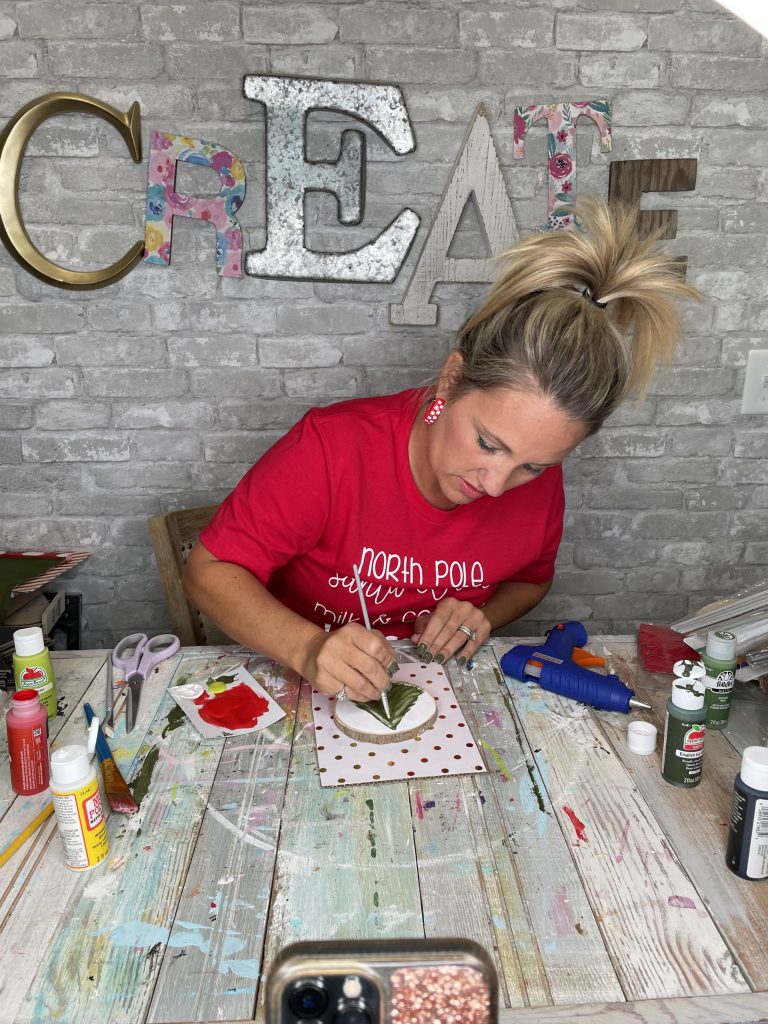
So, here’s the deal. I don’t have a picture, BUT…Do you see this white polka dot paper??? Well, behind that is the cardboard! I mod podged the scrapbook paper onto that cardboard for a little “sign” base. It turned out adorable!
I wanted to paint the wooden ends of the scroll red, and I did…as you can see. No problem, right?? Except when I started painting it red, I kept getting red paint on my canvas too! So….. I just kept going, knowing I’d have to make some changes to my original plans, but I knew I could make this work!
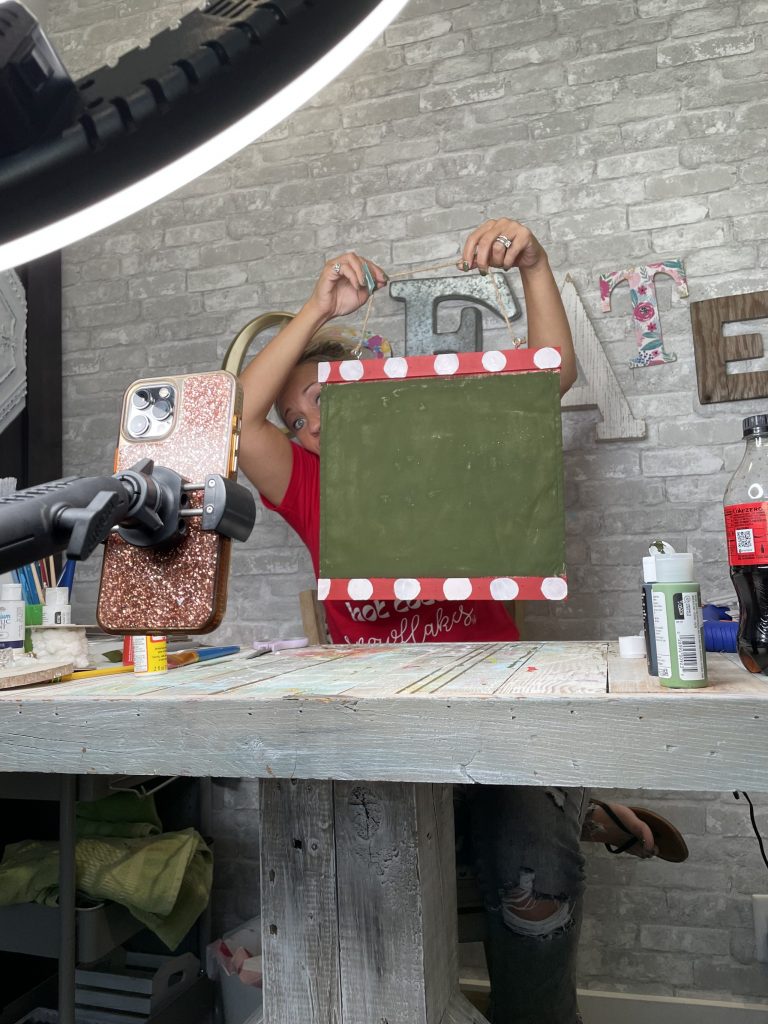
The only solution I could come up with to fix my red paint fiasco was to paint the whole canvas GREEN, so that the red paint was covered. I used the English Ivy deep, rich green to cover the canvas. If you’re doing one of these yourself, remember the canvas will really soak up that paint! It’ll probably take more paint than you thought to begin with! To keep from getting the green on the red wood, I stopped painting just shy of those wooden ends, and thought I’d use the pompom ribbon around the edges, and nobody (but y’all!) will ever know about my wayward paint! Yay!
I added a second coat of red to the wooden ends while the green was drying on the canvas. Then I put the whole thing aside to dry while I went to work on the cardboard piece!
I wanted to add some white polka dots to the red slats. I used a small angled paintbrush for the polka dots instead of a spouncer because I just love a slightly imperfect and completely whimsical dot! You can see all of that in the above pic.
While my polka dots were drying, I started on the wood slice I had decided to adhere to the covered cardboard piece. I love those rustic little wood slices with the bark on the edges! They can be used in SO many adorable ways! I wanted to leave the bark edge alone but paint the front white. I hot glued the wood slice to the cardboard…perfect! But now…what to do with it?? I can’t just have a naked white wood slice hanging in my decor! So I got the idea to paint a tree on the wood slice! You can hear all the details on my LIVE VIDEO for colors, etc…
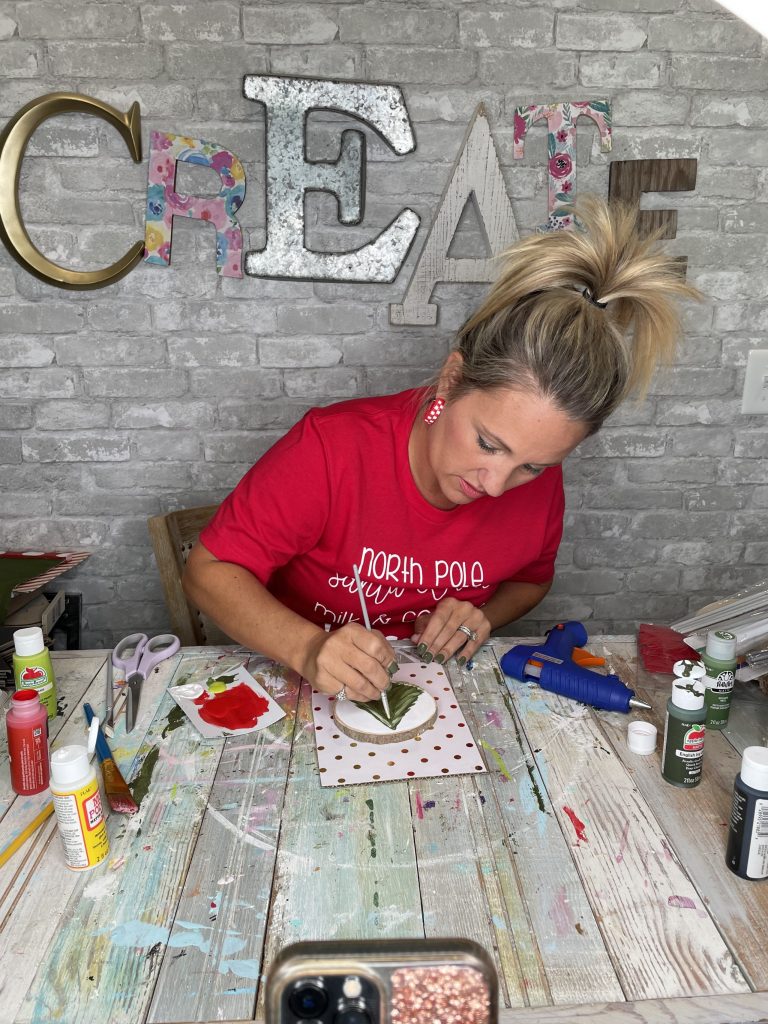
To add even more texture to the tree I added in some white paint as the top layer. That white made ALL the difference! We are on the home stretch now, friends! Wooo hooo!
Just two steps are left! I need to attach the cardboard piece to the canvas, and I need to hot glue the pompom ribbon on each end! I added the pompom ribbon first, and then I attached the cardboard piece to the center of the canvas.
The only thing I wanted to do to finish it off was add red pompom ribbon around the cardboard piece, which I did after the live! Hallelujah, it actually turned out super cute! I was so proud!
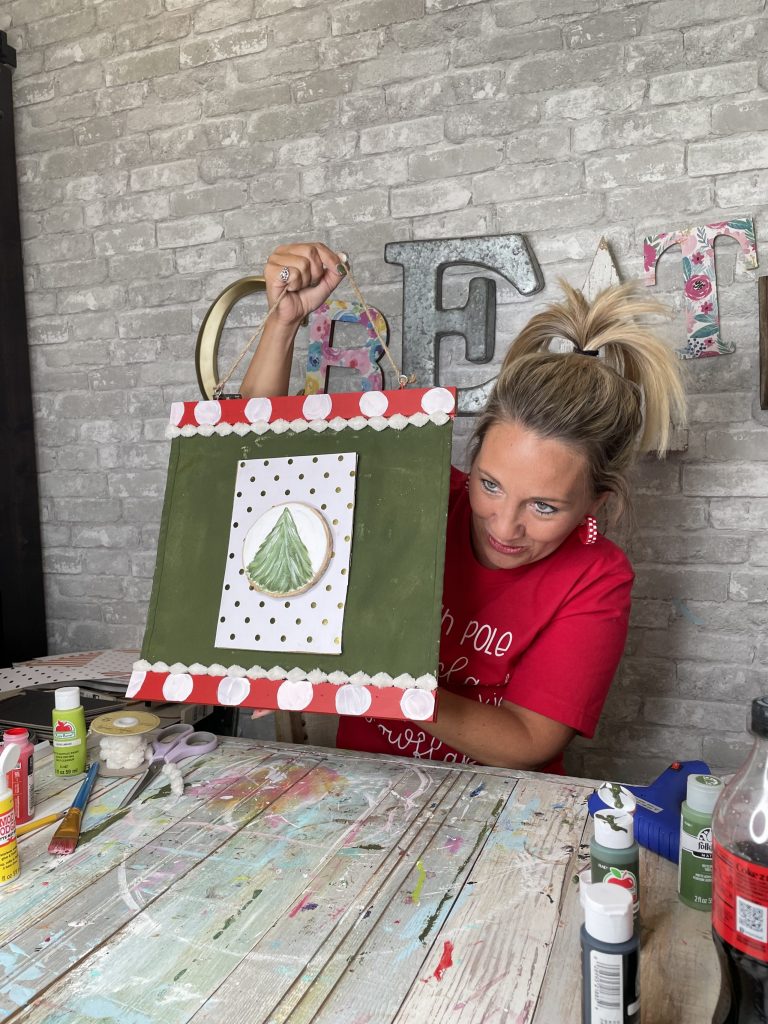
P.S. I also touched up the green paint after the live, but the live was long enough…so I left as is for now LOL
And HERE is the finished product hanging in my bedroom! I LOVE IT!
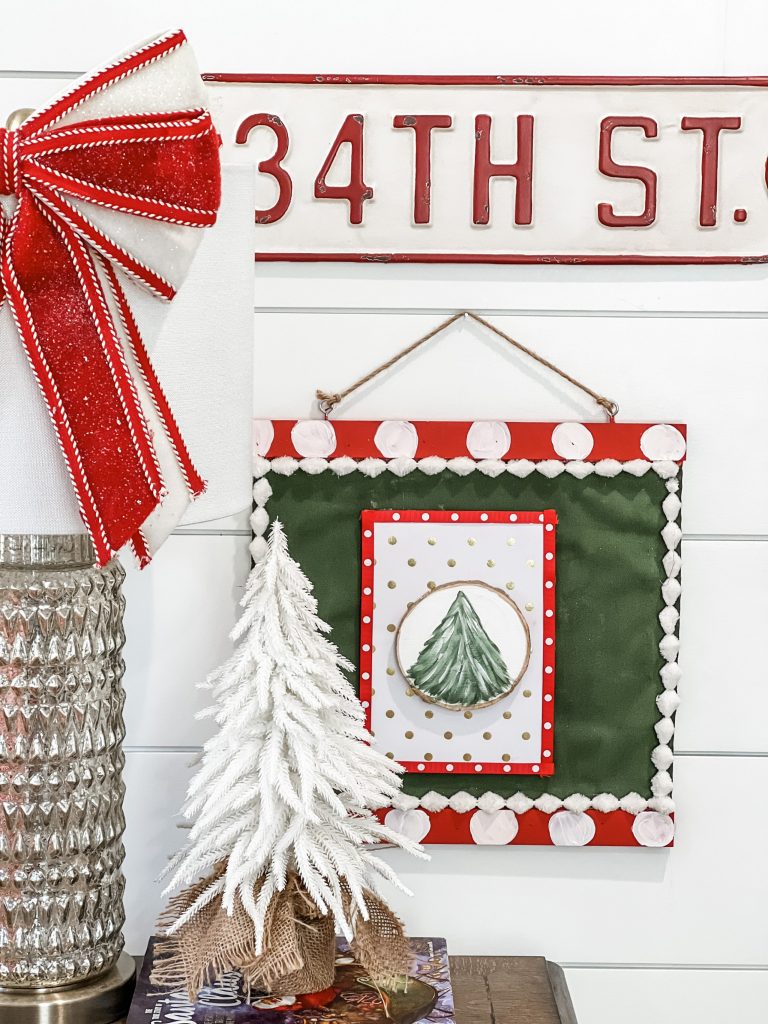
Who knew when I started that we’d end up in this direction with a super cute Christmas wall hanger?!? Honestly, I wasn’t sure for a minute, but BOOM! It all works out in the end right? Thank y’all so much for sticking with me! I appreciate y’all so much more than you could know. See you soon for another fun craft!
Last Updated on October 26, 2022






Love this cute Christmas hanger. I would love to try this and have it in my home fir the holidays!!
Thank you for your live regarding having a blog – critical and necessary component to business ownership.
Hahaha I had already knew something about the plane sutuation, but you had me laughing my tale off about the rest. You getting through this craft was a hoot. Who knew how it was turning out. Certainly not you. LoL I love it Brooke. Too stinkin cute!!!