It’s time for another theme week! This week’s theme…
WOODEN SIGNS!
I went live yesterday making a fun wooden sign for Eden’s room (which will be on the blog this week!) It’s the simplest little sign to make… so I wanted to write out the steps and share how it ended up looking!
Here’s what you’ll need…
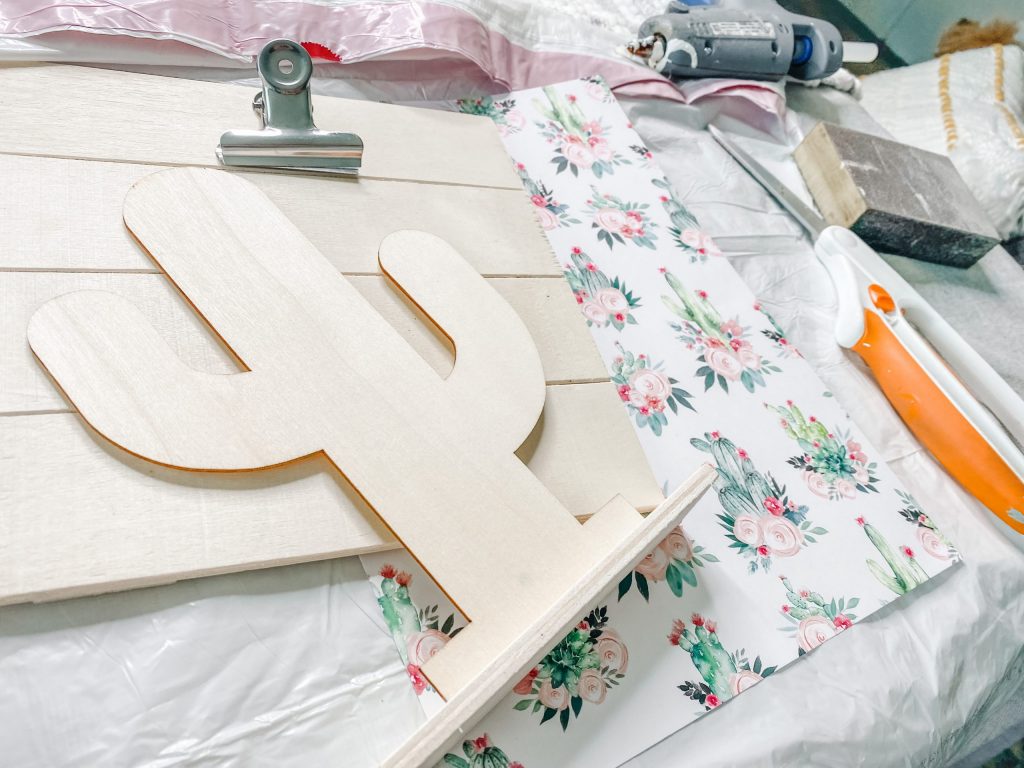
- any wooden sign (mine came from Dollar Tree)
- wooden cactus (Mine is from PopShelf, but I’ve seen them at Dollar Tree!)
- Marsh Green and White paint from Apple Barrel
- scrapbook paper
- Mod Podge
- scissors
- sanding block
- pen
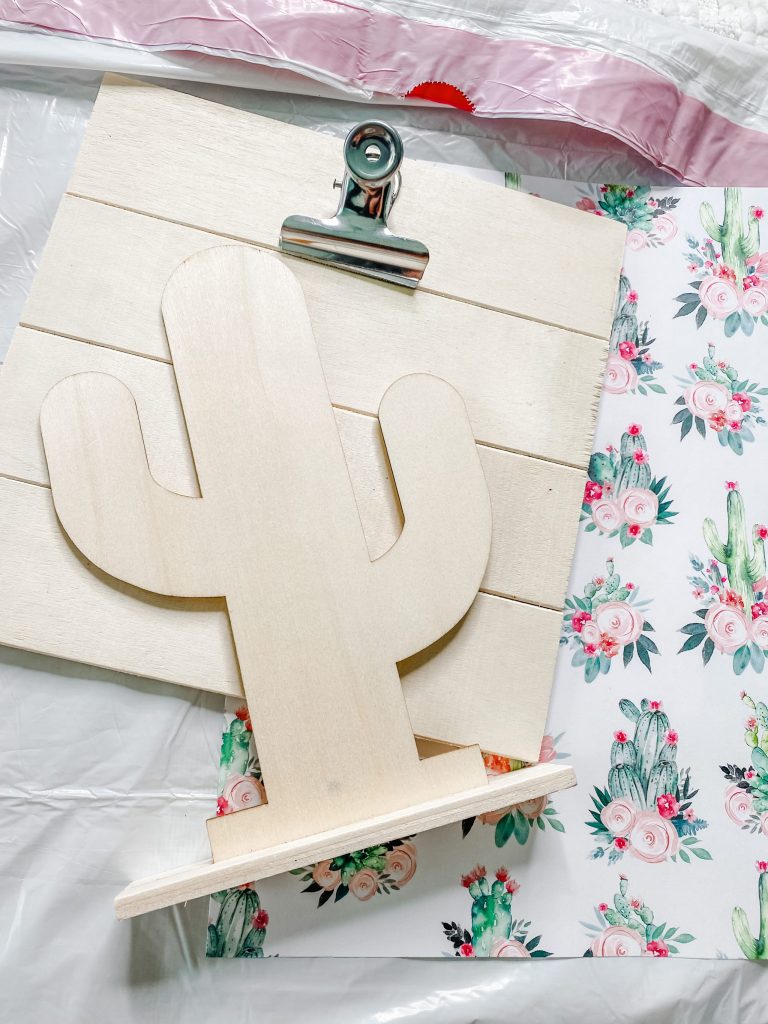
Step 1: Take off the clip that came on your board. We won’t be needing it!
Step 2: Flip your scrapbook paper to the back. Trace out your board onto the frame to get the correct size of paper you will need! Cut out your tracing.
Step 3: Mod podge your cut out scrapbook paper onto your board. Sand down the edges to help make the paper look more seamless!
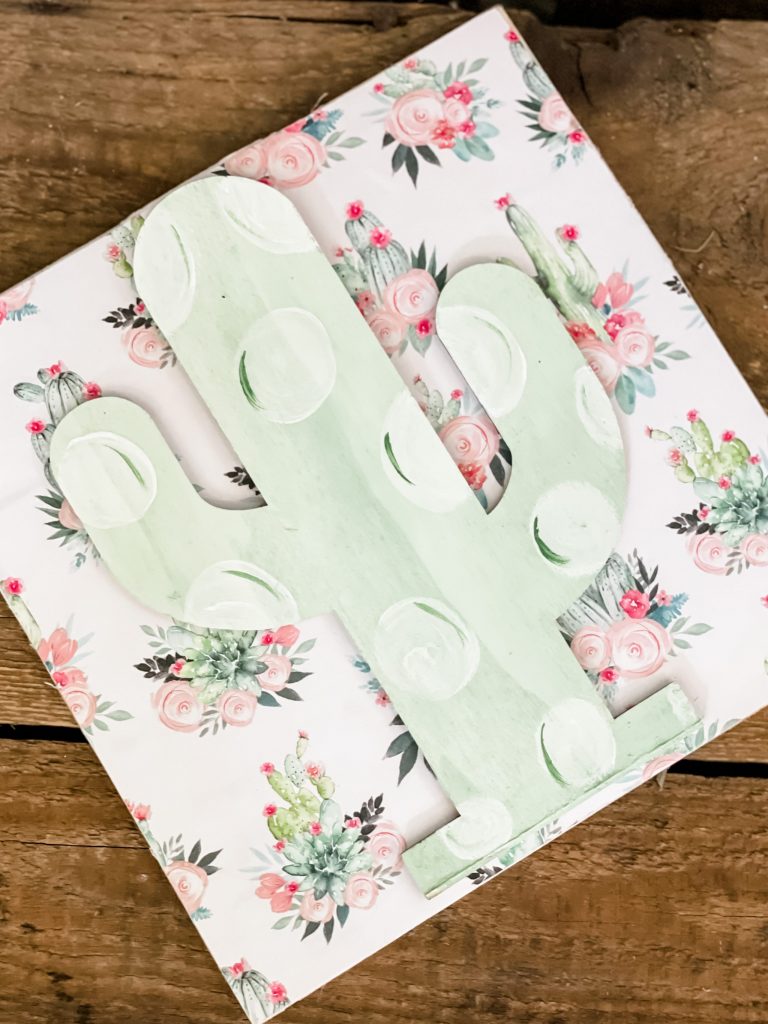
Step 4: Remove the base of the cactus, so the cactus lays flat. You will not need the base for this project!
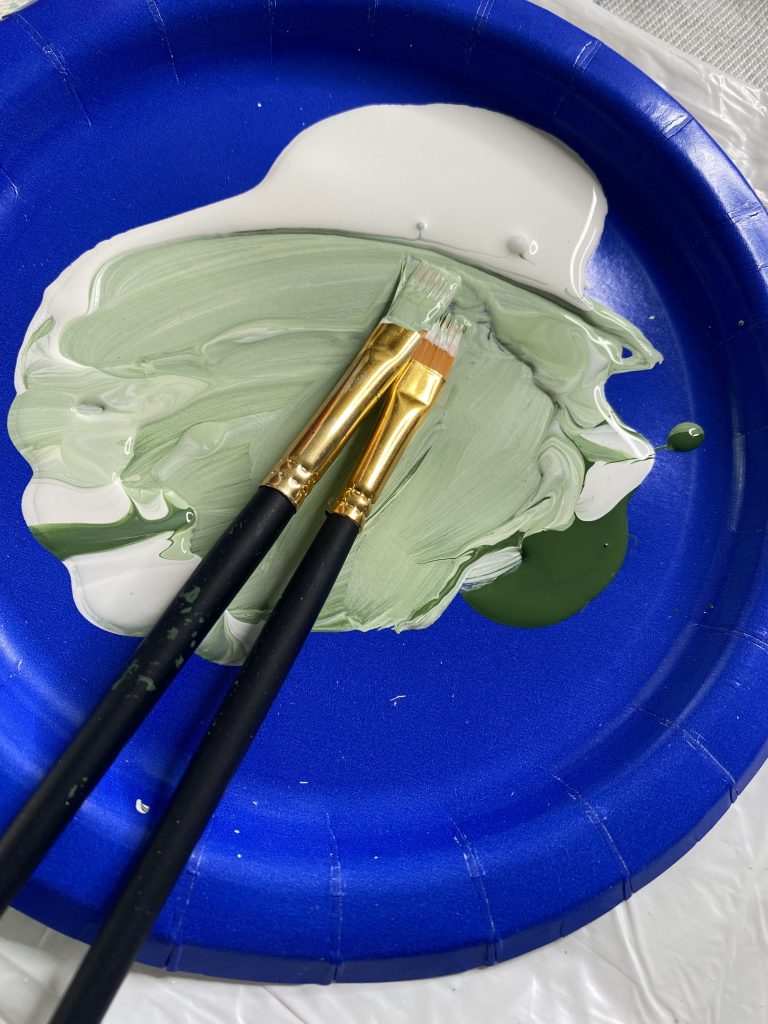
Step 5: Mix together your Marsh Green and White paint. It creates the prettiest color green!
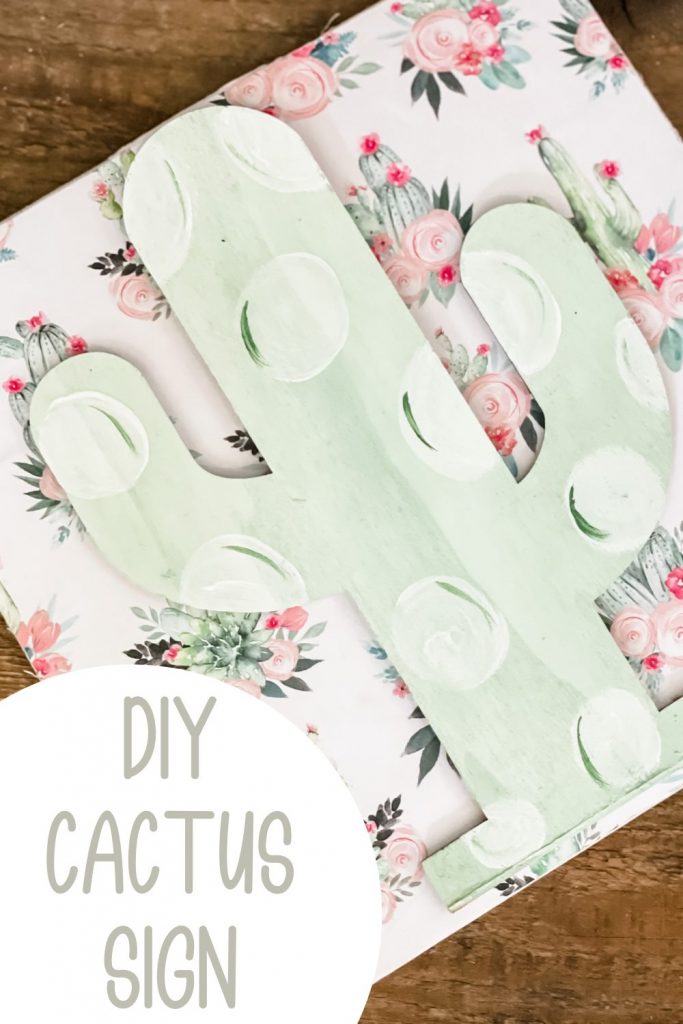
Step 6: paint your cactus completely. Once dry, use white paint to paint on some polka dots and highlights!
Step 7: hot glue your cactus onto your board.
THAT’S IT!!
Here’s how mine came out!!! This project cost me $2.25 to make… and will be the cutest addition to Eden’s bedroom!
If you want to WATCH the video tutorial of me making this cactus sign step-by-step, just click the button below!

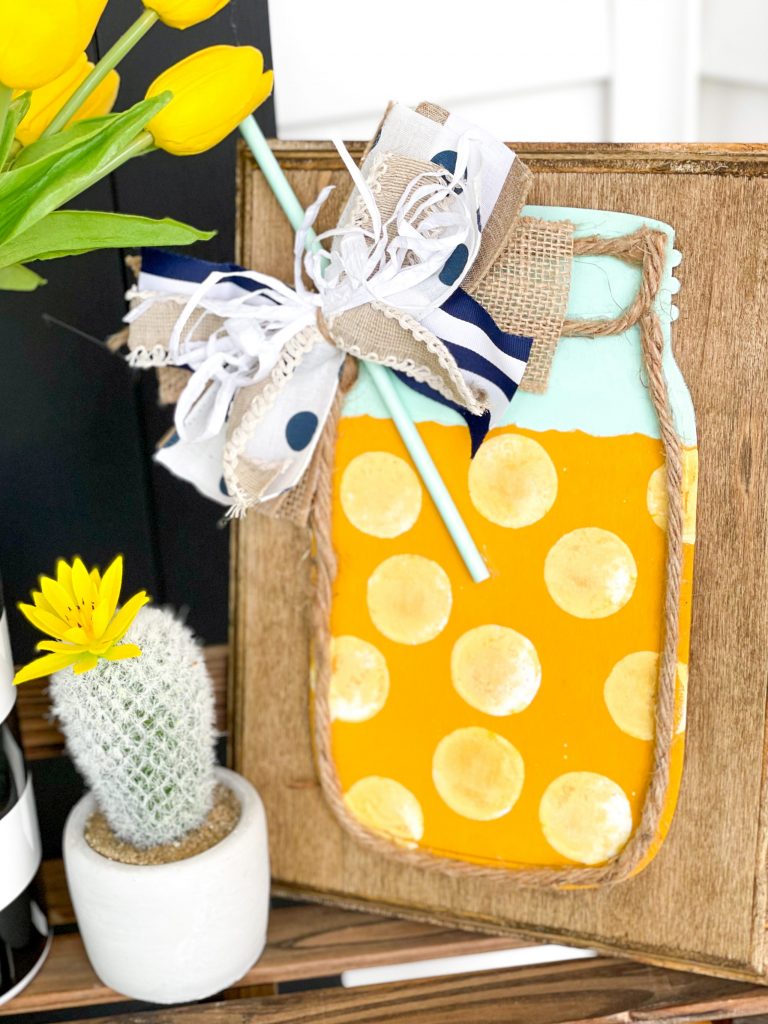
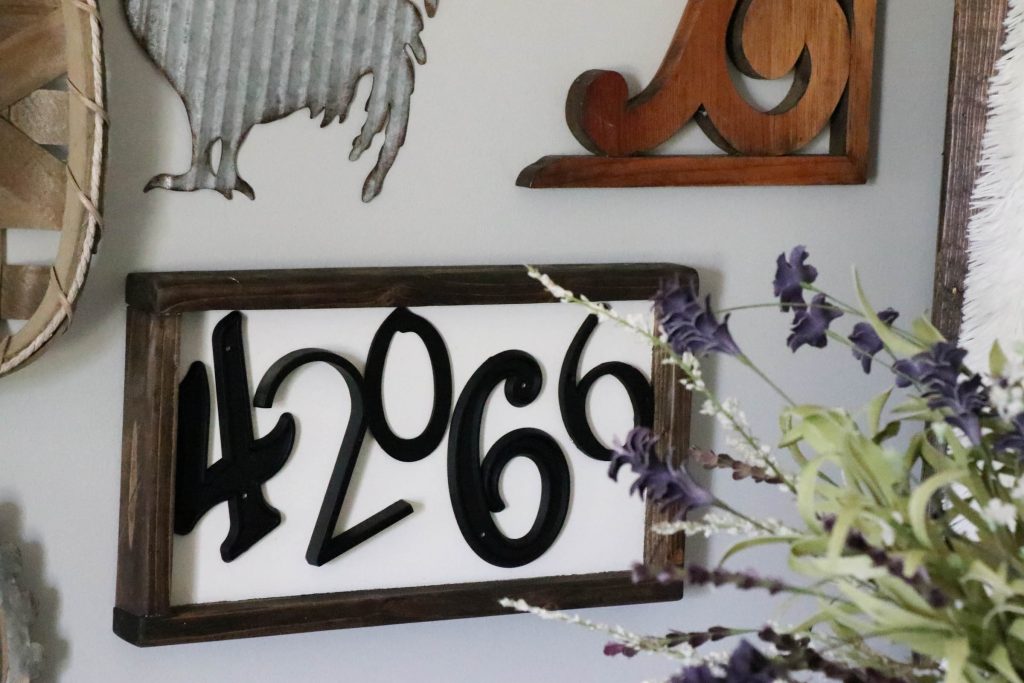
Want to see more wooden sign projects?!? Here’s a few of my favorites! Just click on the image to go straight to it’s tutorial!
PIN THIS FOR LATER!
Last Updated on June 23, 2021





Adorable! I’m sure Eden loves everything you make for her!!
Cute cactus craft. I like how you did the polka dots