How about a SUPER CUTE, 5 minute DIY Burlap Bunny Easter project that will add the perfect festive touch to your gifts or home decor? Ok good. I was hoping you would say yes!
Y’all know I love me some burlap. There is just soooo much that you can do with it!
Well, the other day on Facebook live, I made the cutest little DIY burlap bunny- and I thought I would do a quick blog post for them too…for those who want to save it for later or see it in written form. There are still some of us “old timers” that like written form 😉
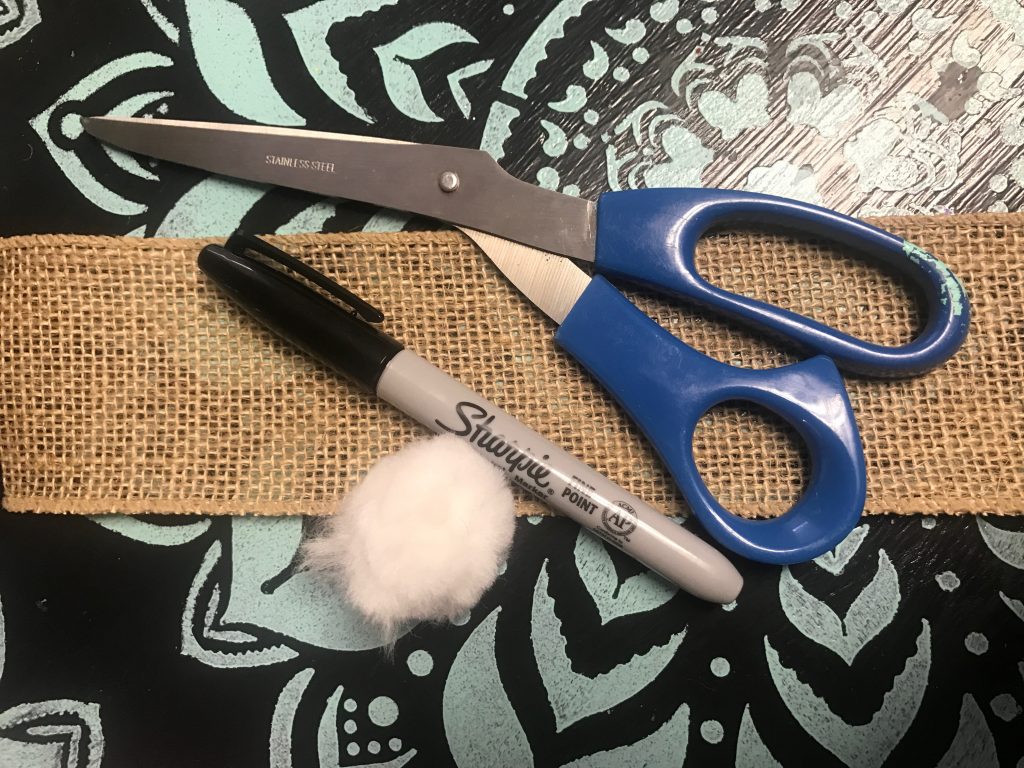
First, start off with a strip of standard burlap, a sharpie, and some scissors!
Take your sharpie and draw some bunny ears, and 2 circles (one being a little smaller than the other). These do NOT have to be perfect. I mean, look at mine! LOL.
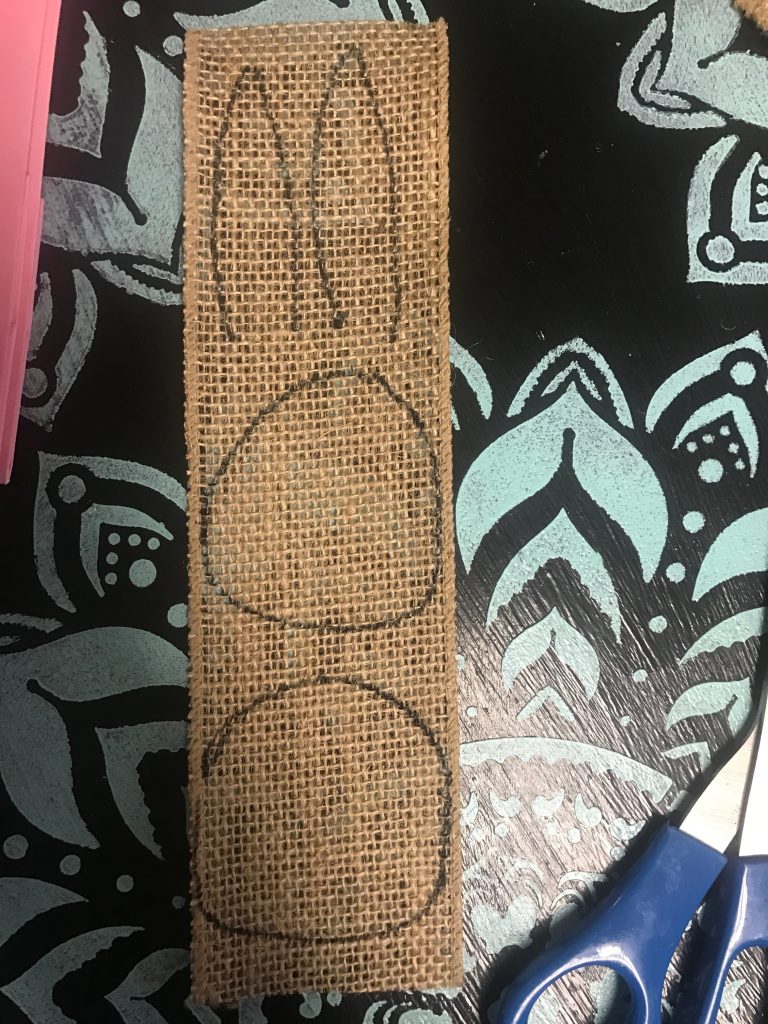
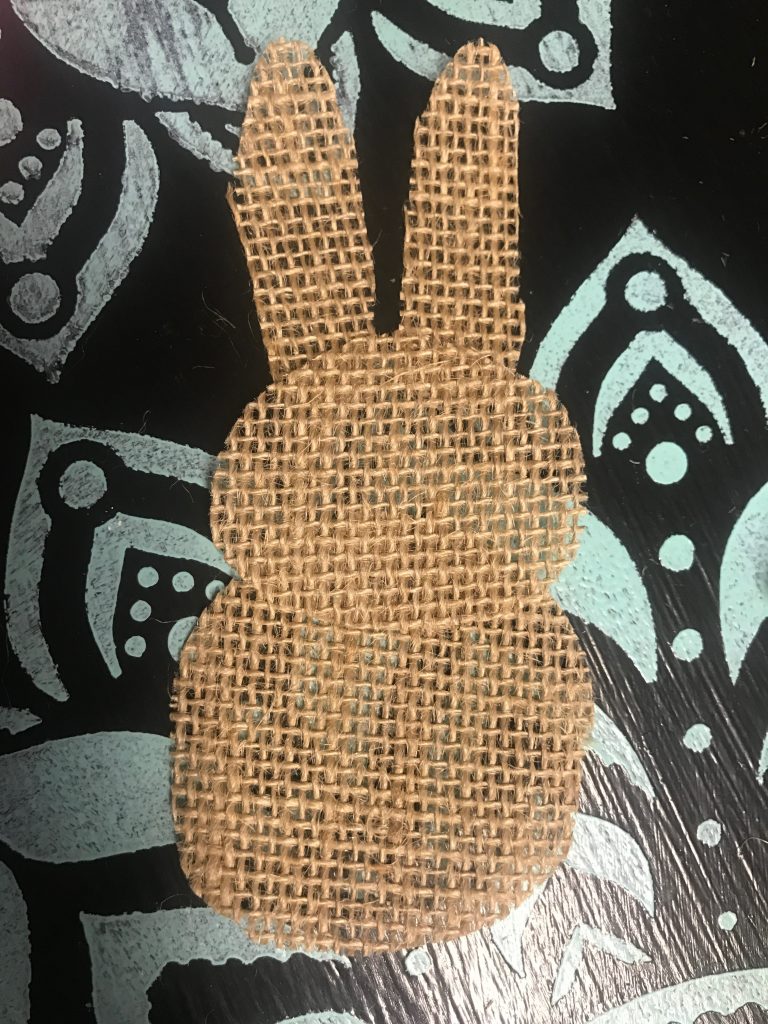
After drawing it onto your burlap, cut the pieces out…and then flip them over so that you can’t see the marker!
Put them together to form your DIY burlap bunny!
(Isn’t it looking so sweet?!?!)
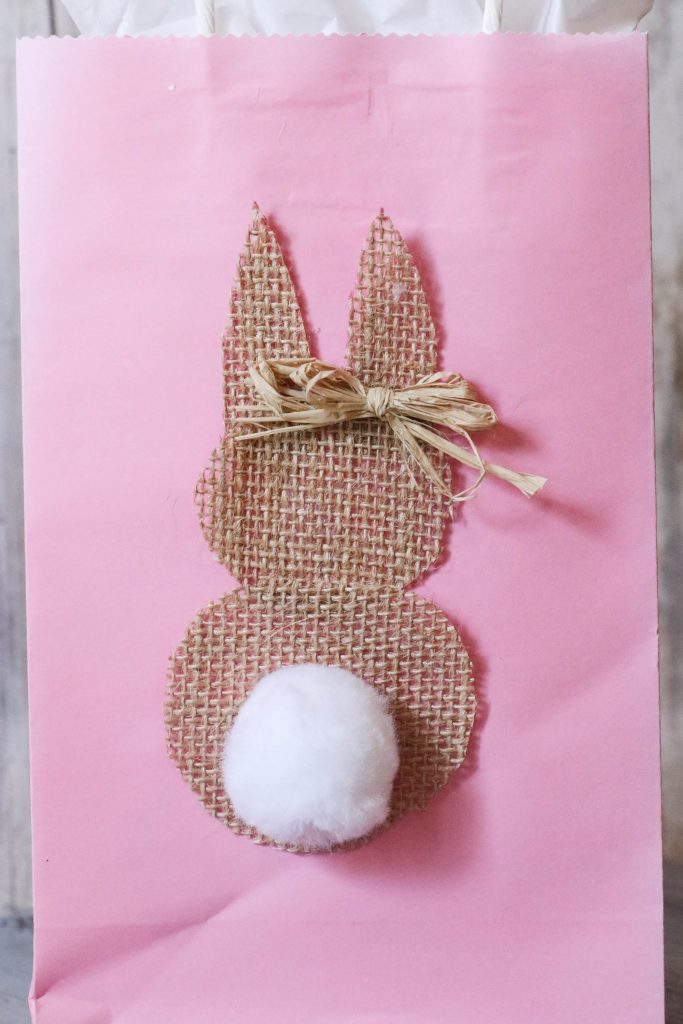
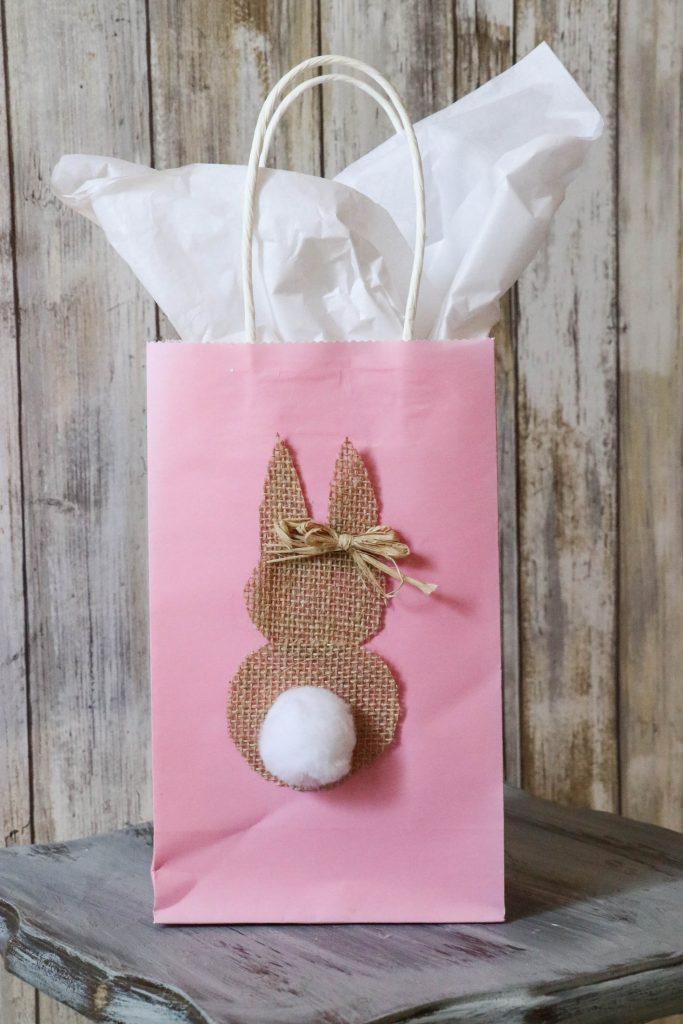
Glue your “tail” on (either use a pom pom or cotton ball)…and then glue your bunny onto whatever surface you want! I did mine onto a dollar tree gift bag that came in a set of 3 for $1! This will make the perfect little addition to an Easter gift!
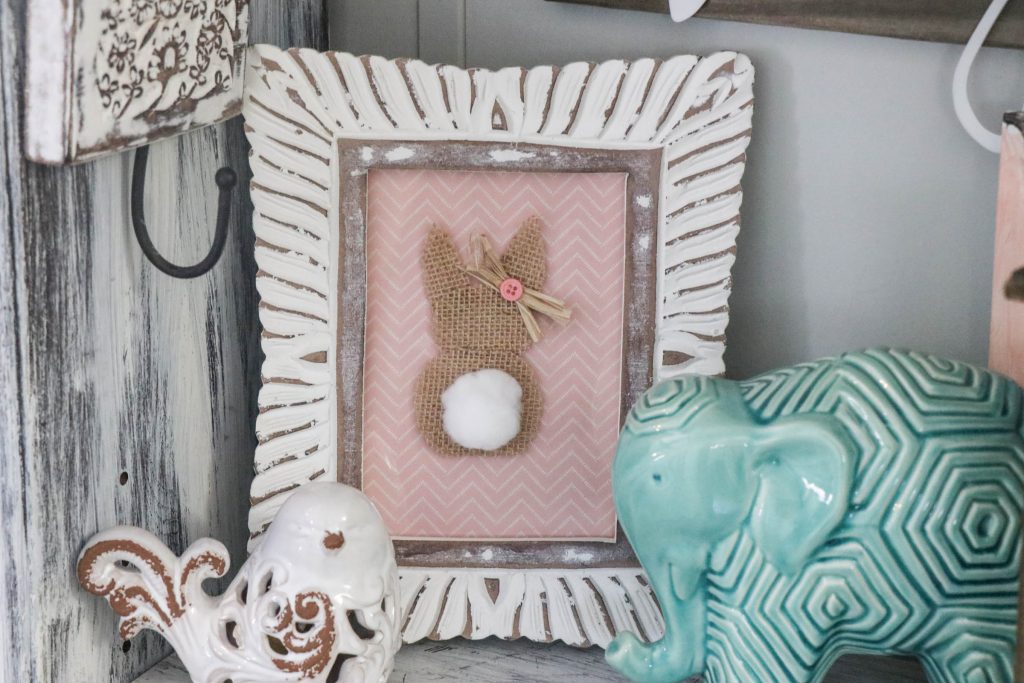
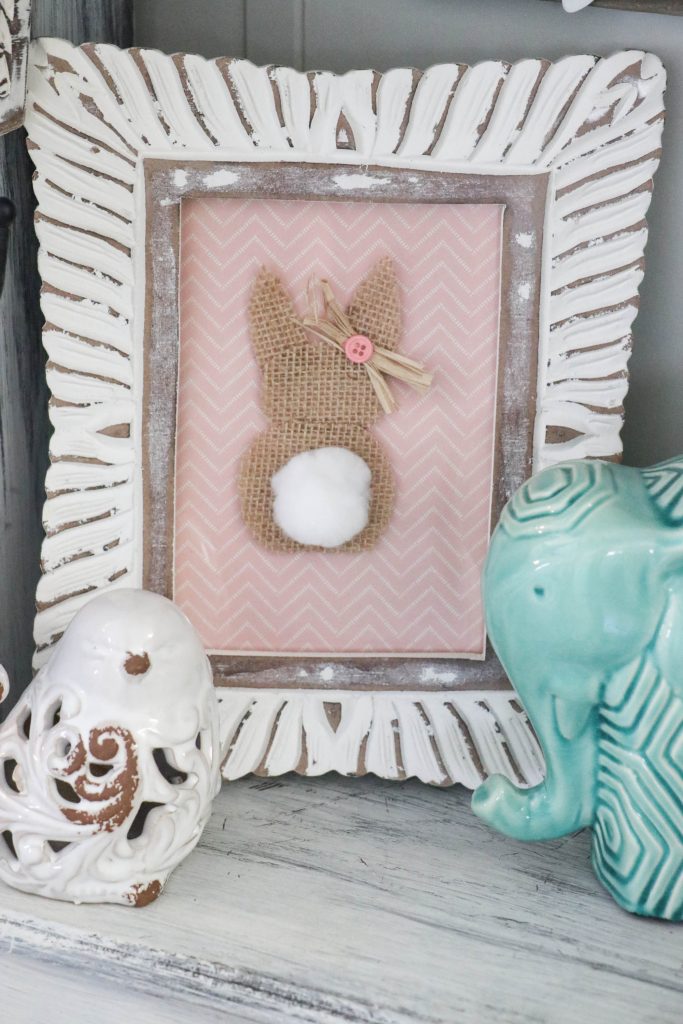
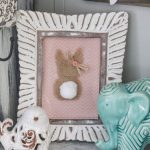
I also used my bunny to go onto the outside of a frame that I have had for a few years. I took a piece of scrapbook paper and placed it into the frame, and then glued my bunny to the outside so that it is easily removable when the season is over.
I added a little raffia bow on both of my bunnies…and then for this one, I put a mini button in the middle! SO cute…and sets it off perfectly!
Well, tell me what you think?? Super cute and easy little project, just in time for the Easter season!
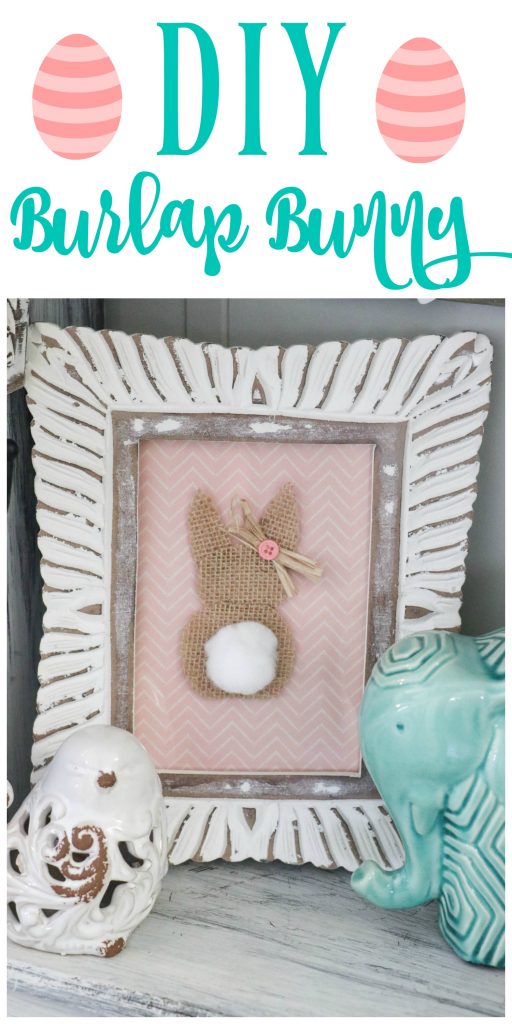
PIN FOR LATER!!!
Follow Along on Social Media!
Facebook/Instagram/Pinterest/Twitter
Last Updated on July 6, 2018



O.M.G.,I’m dying over here!! This is SO cute!!
Very cute and easy! Thanks.??
Too cute!
Adorable!!!! 💕
Love it!! 💖💖
She’s so sweet.