Buffalo plaid is EVERYWHERE in fall and winter décor, but you don’t see it as much in bright colors during the warmer months. I recently decided to transform a winter themed tray I had into a bright, fun “Spring” piece! I LOVE adding pops of color everywhere, and I thought pink would be perfect for this project! Painting buffalo plaid can seem a little intimidating, but trust me, YOU can do it! It’s so fun! I’m going to talk you through the process!
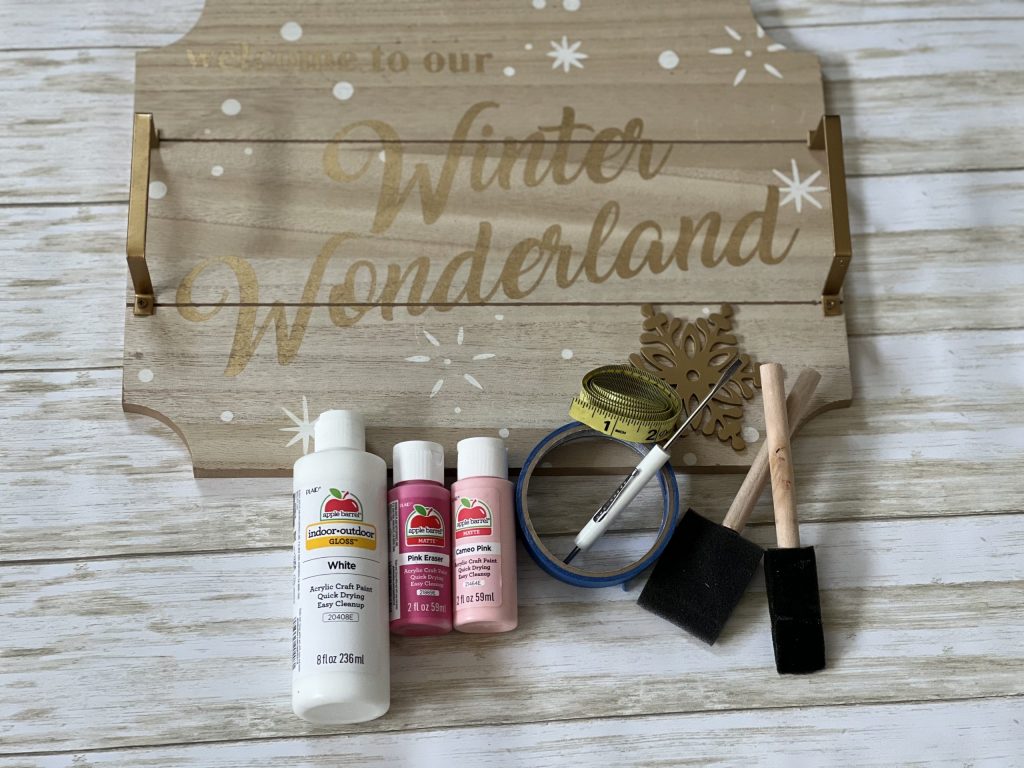
Here is what I started with:
- Wooden tray
- Painter’s tape
- (3) different paint colors – light, medium and darker (I used Apple Barrel’s White, Pink Eraser and Cameo Pink)
- Foam brushes
- Measuring tape
- Pencil
- Screwdriver to remove the handles
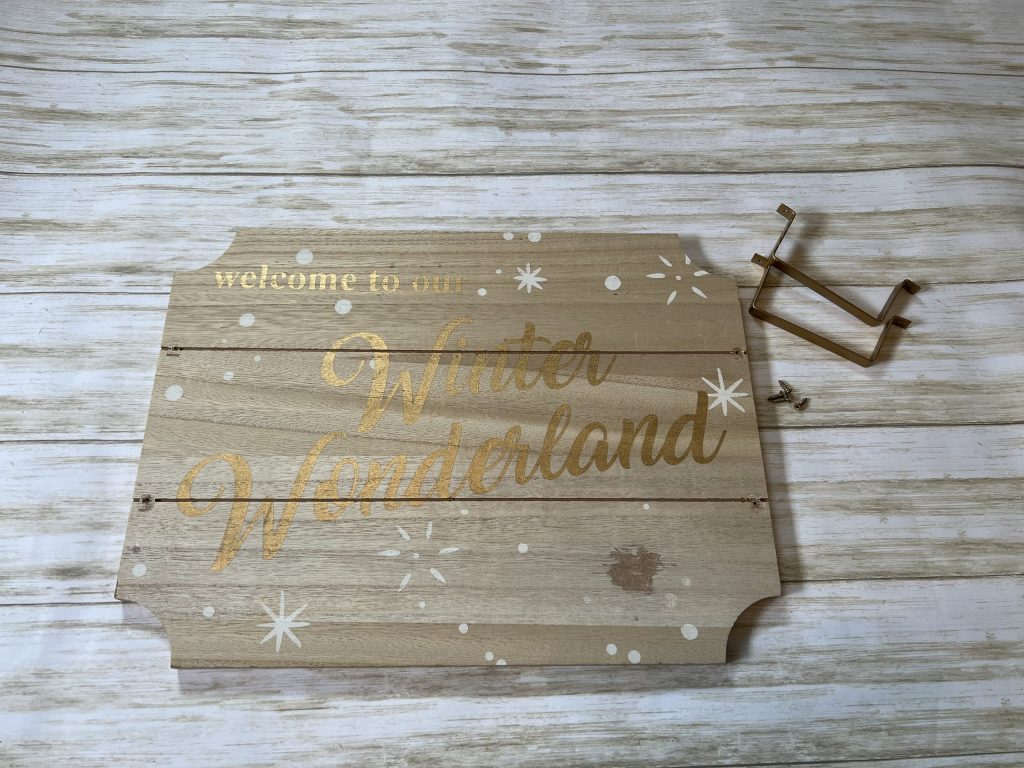
First, I removed the handles on the tray and the snowflake piece at the bottom. I lightly sanded where the snowflake had been to smooth the surface.
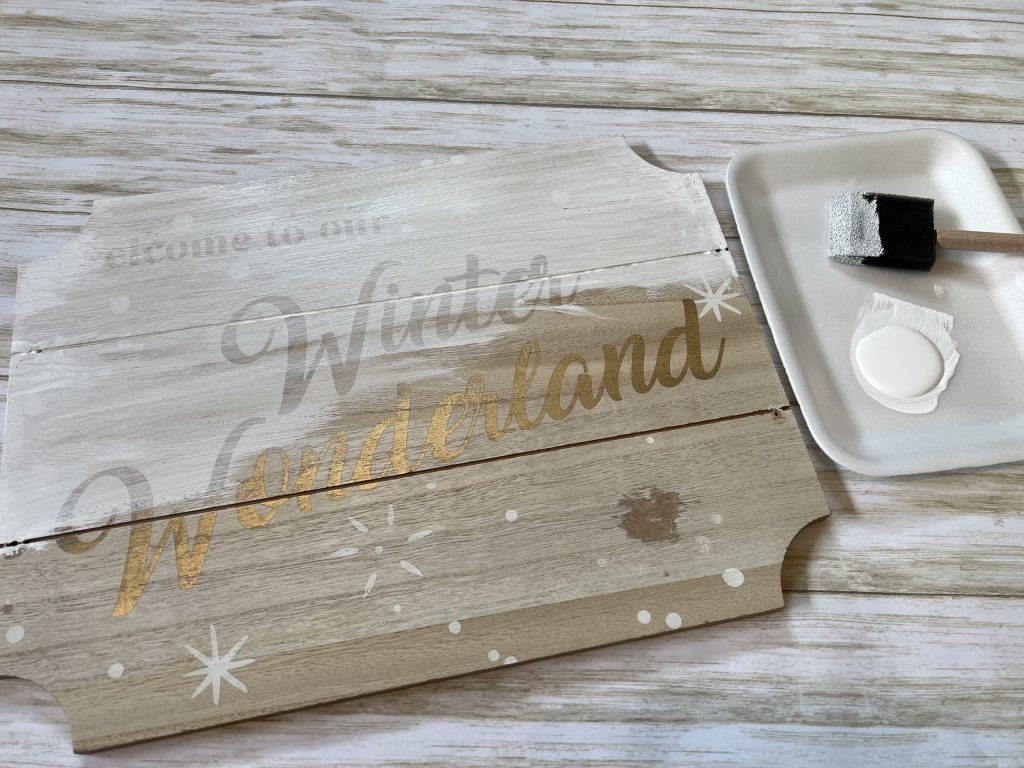
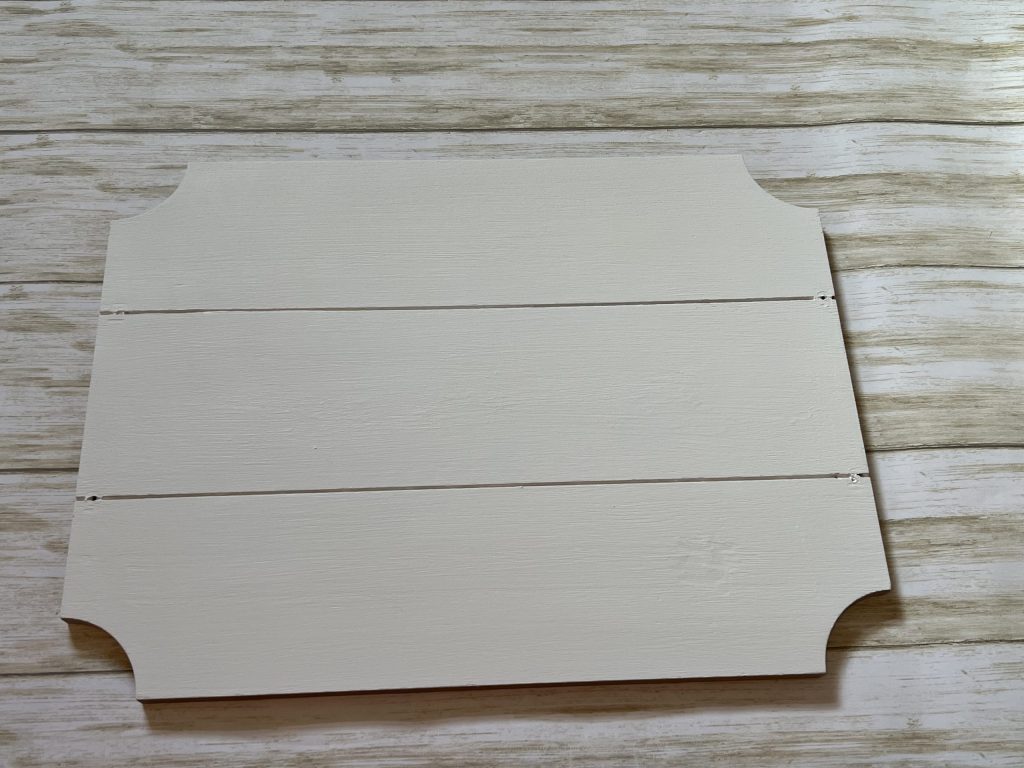
To paint a buffalo plaid pattern, you will need three paint colors: a light shade, medium shade and a darker color. I painted the entire surface of the tray with my lightest shade, which was white. Since I was covering a design, it took me several coats. If you have a light solid color or white background, one or two coats will be perfect.
Next, I used painter’s tape to create a striped pattern on my tray. You can get very precise with this step if desired by making sure everything is perfectly spaced, but I just kind of winged it using my painter’s tape as a guide. Starting on the edge of the tray, I laid down two strips of one inch painter’s tape to create a two inch stripe. As you can see, it wasn’t quite two inches. It was closer to one and seven eighths inches. I used that measurement to mark where my next stripe should be.
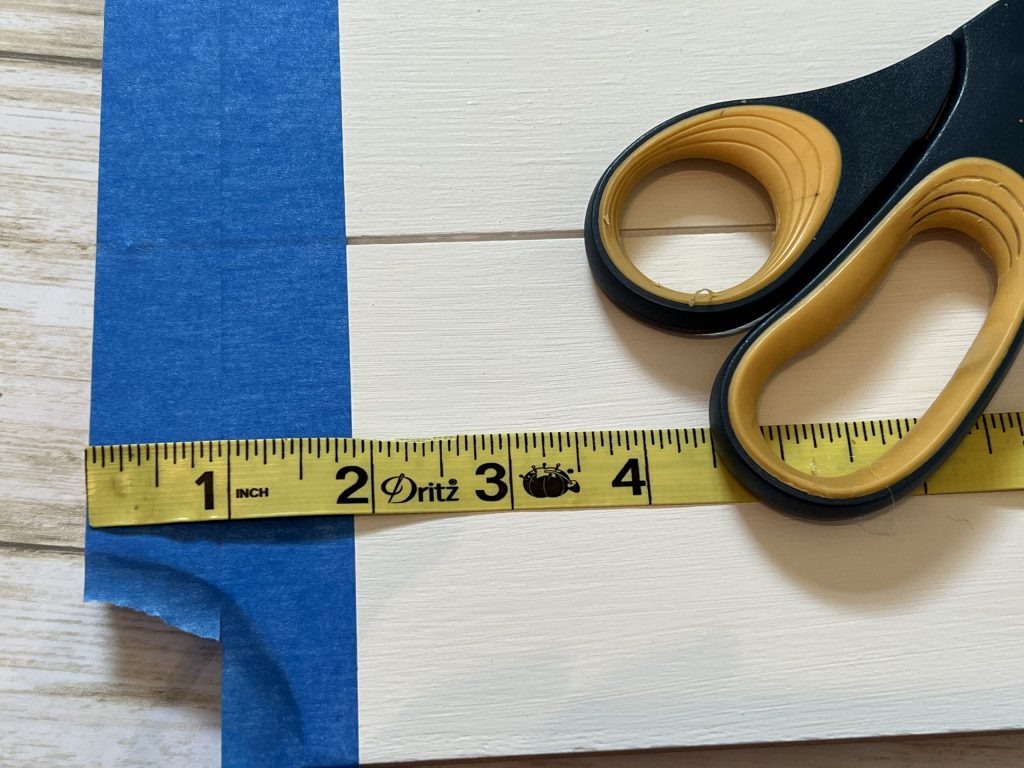
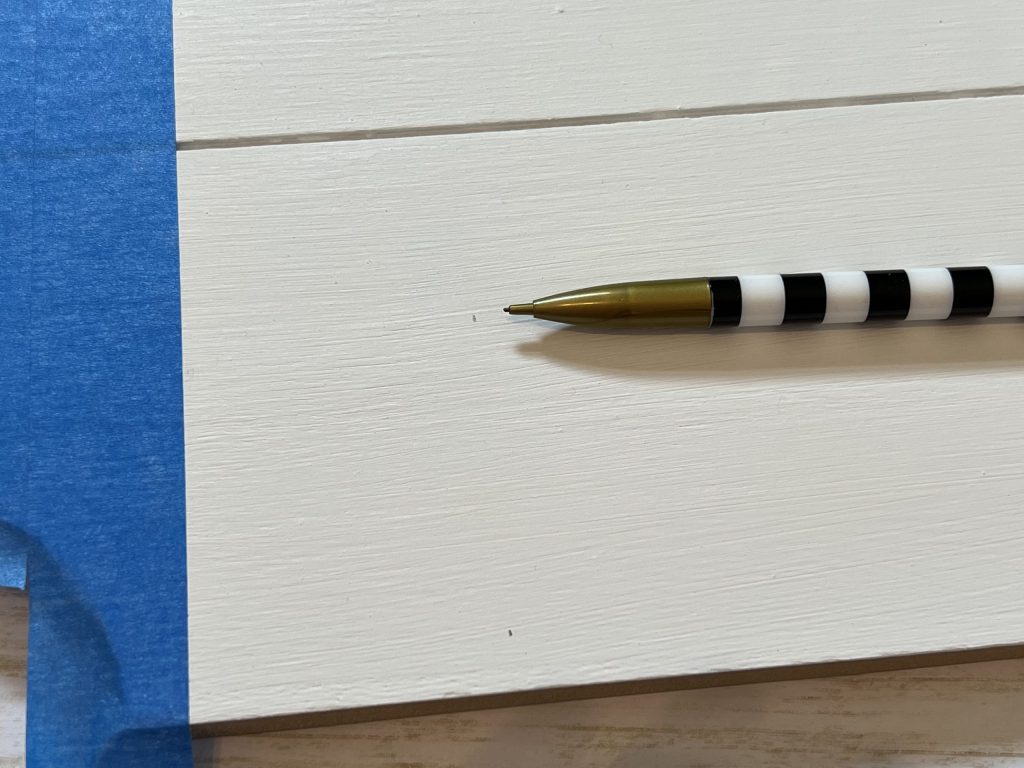
I taped my stripes evenly spaced across the tray. You will want to apply a little pressure to the edges of the tape to prevent the color from seeping under it.
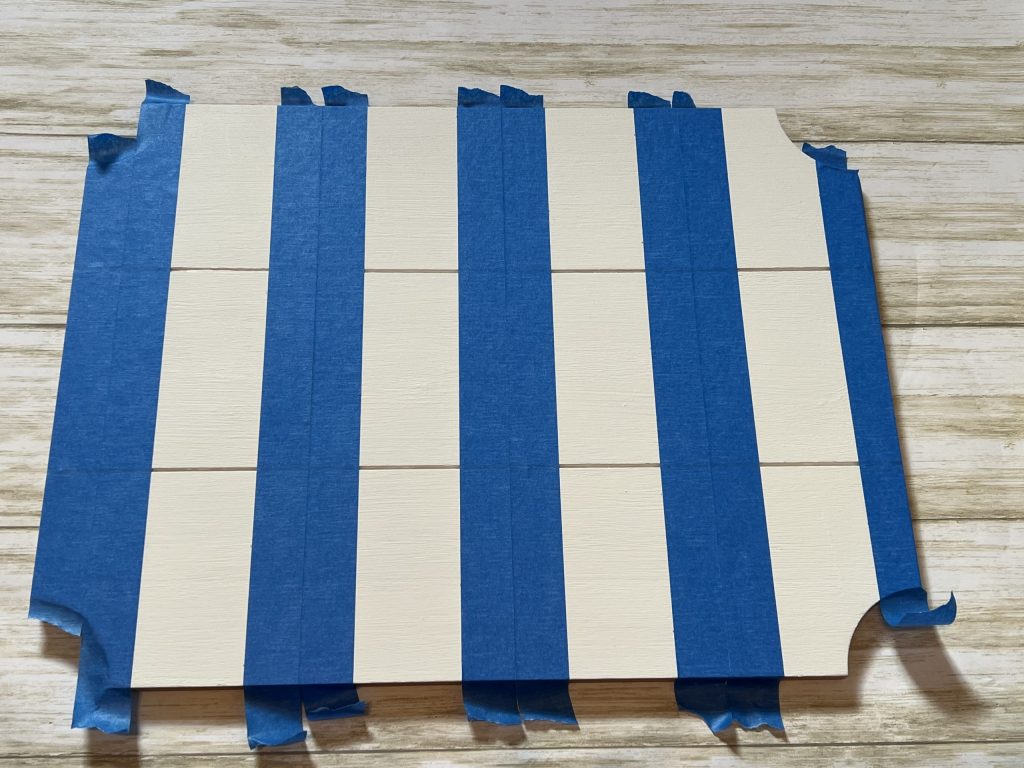
After taping the stripes, I used my medium shade paint (Apple Barrel Cameo Pink) to paint all of the exposed white areas. Apply a LIGHT coat, brushing with light, quick strokes.
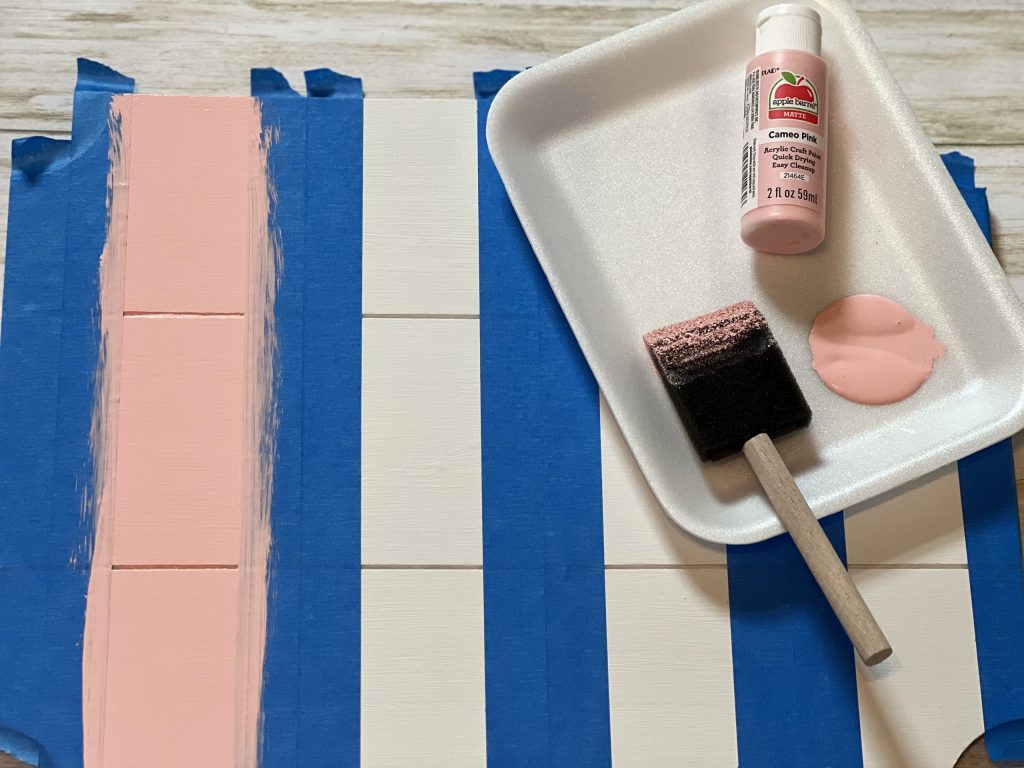
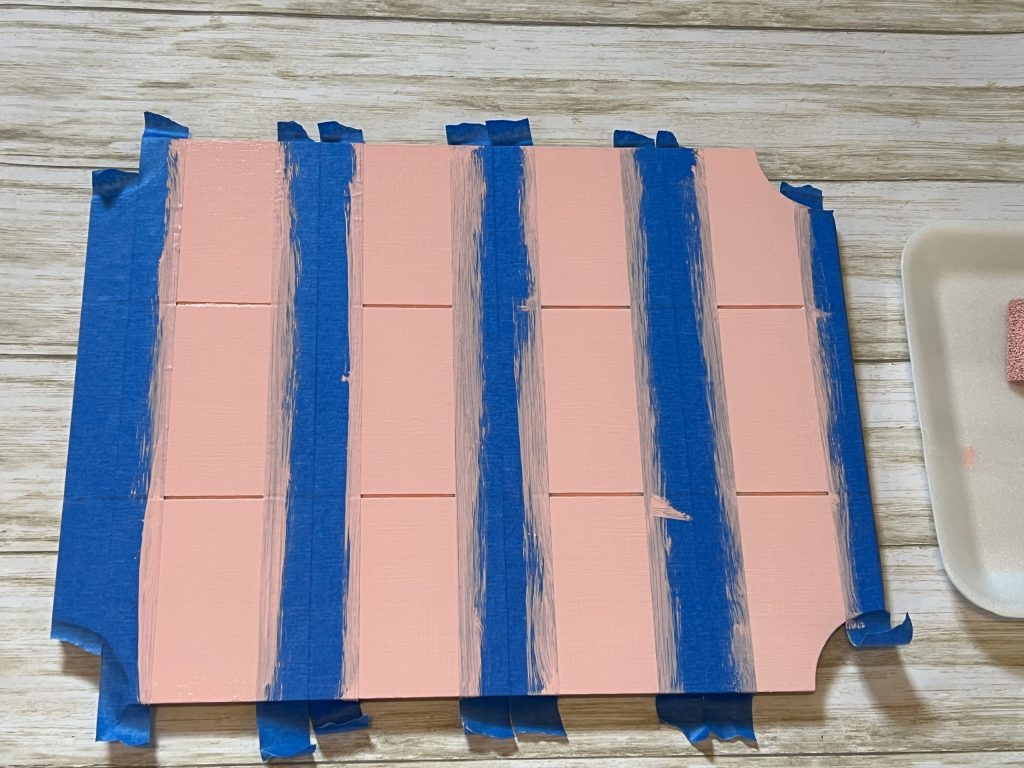
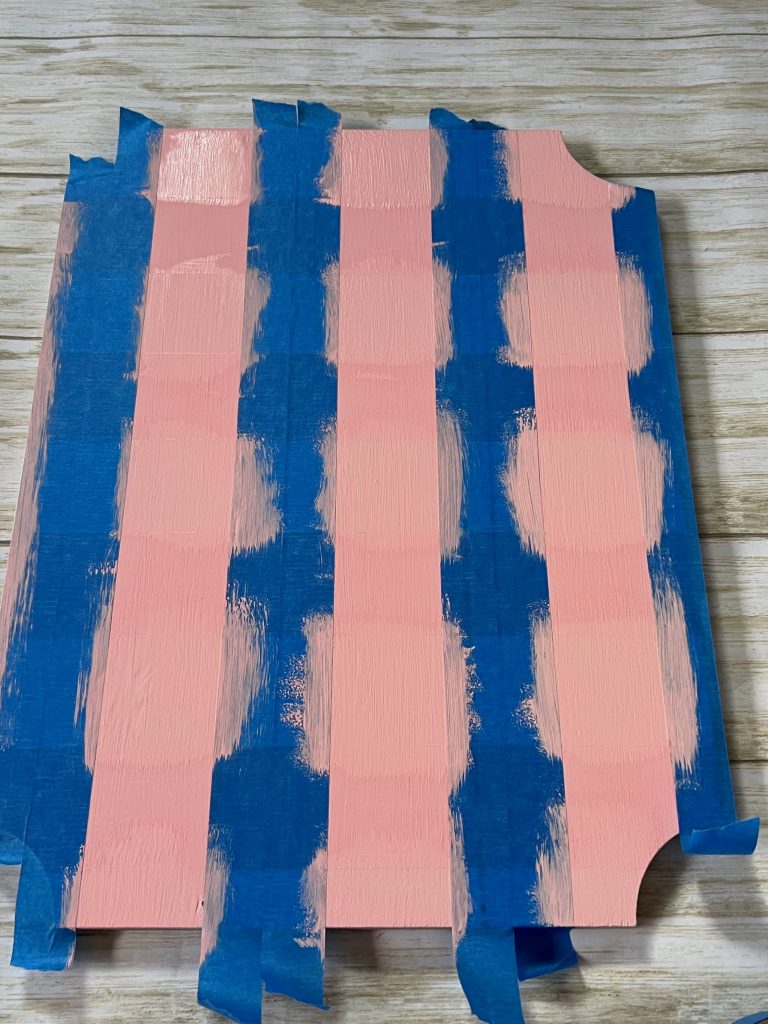
Allow the paint to COMPLETELY dry, and then remove all of the tape carefully. As you can see below, some of my paint seeped beneath the tape onto the white. I think I had too much paint on my brush. This didn’t bother me at all, but I will probably try to use less paint next time.
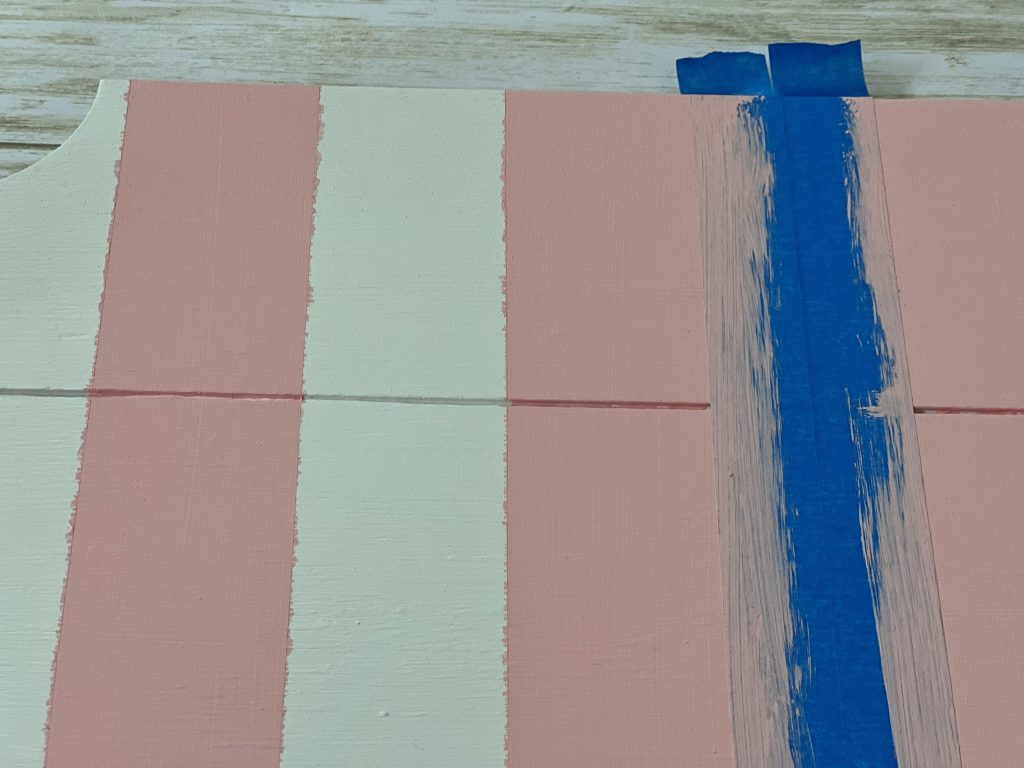
After you remove all of the tape, rotate your tray and tape again with the tape perpendicular to your painted stripes. It will look like a grid pattern. I used the same process as before.
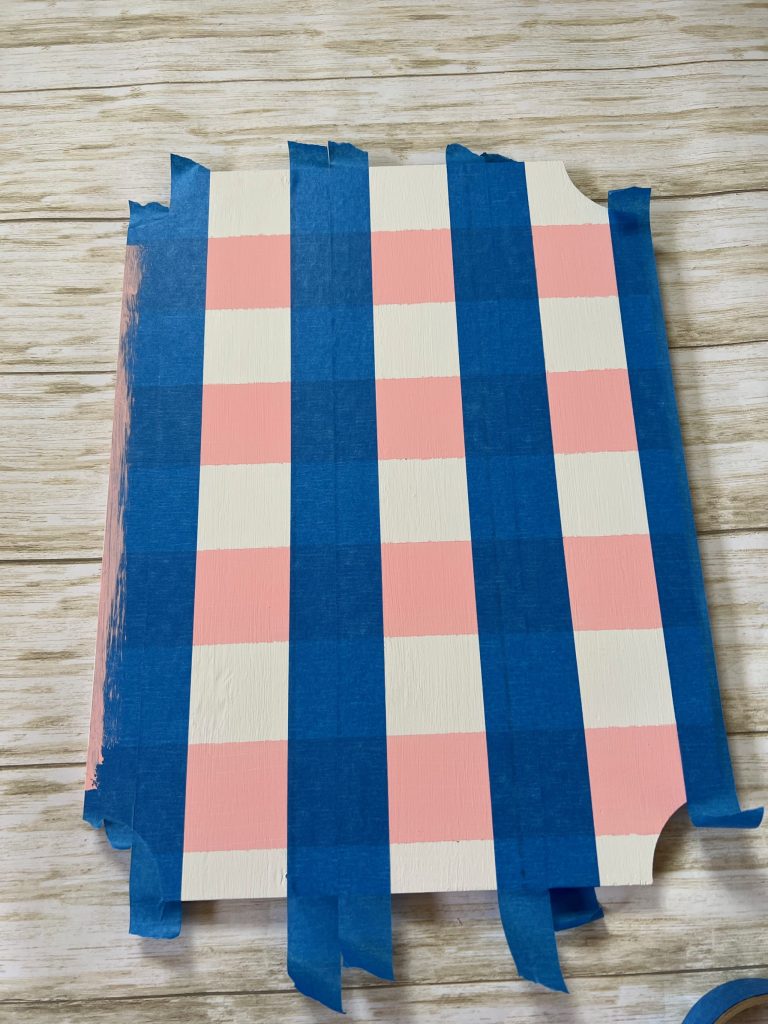
You will paint the exposed white squares with the SAME medium shade paint as you used for the first stripes.
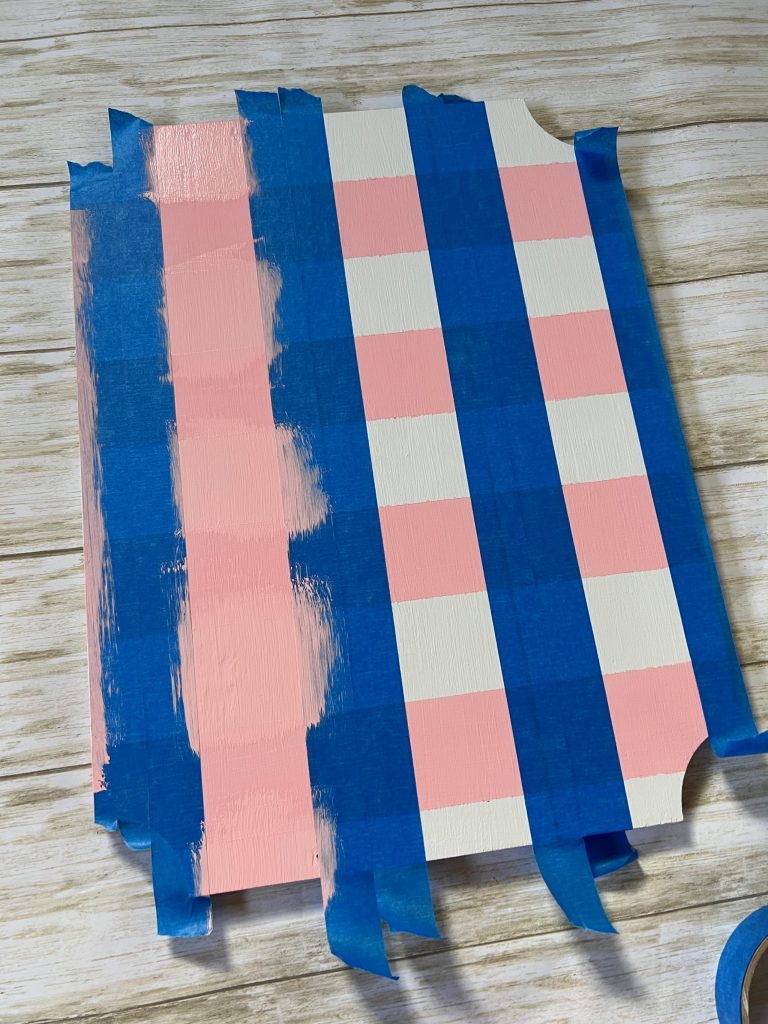
Allow the paint to dry completely. This time, you will NOT remove the tape. Leave the tape on! I repeat, do not remove the tape!
You are going to grab your painter’s tape again, and this time, you will tape directly over the squares you just painted. I ran out of one inch tape at the end and had to make a quick trip to the store to pick up more. They didn’t have one inch, but they had two inch in stock…close enough!
Here is what your board should look like.
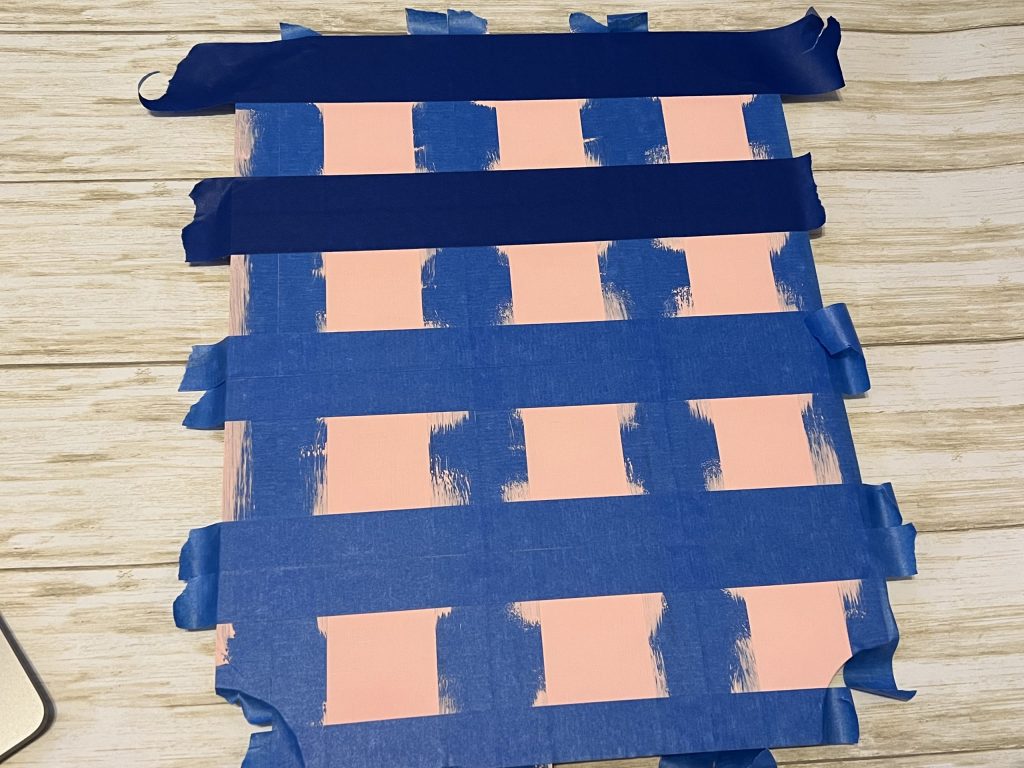
Now, you are going to paint all of the exposed squares with your darker paint. I used Apple Barrel Pink Eraser.
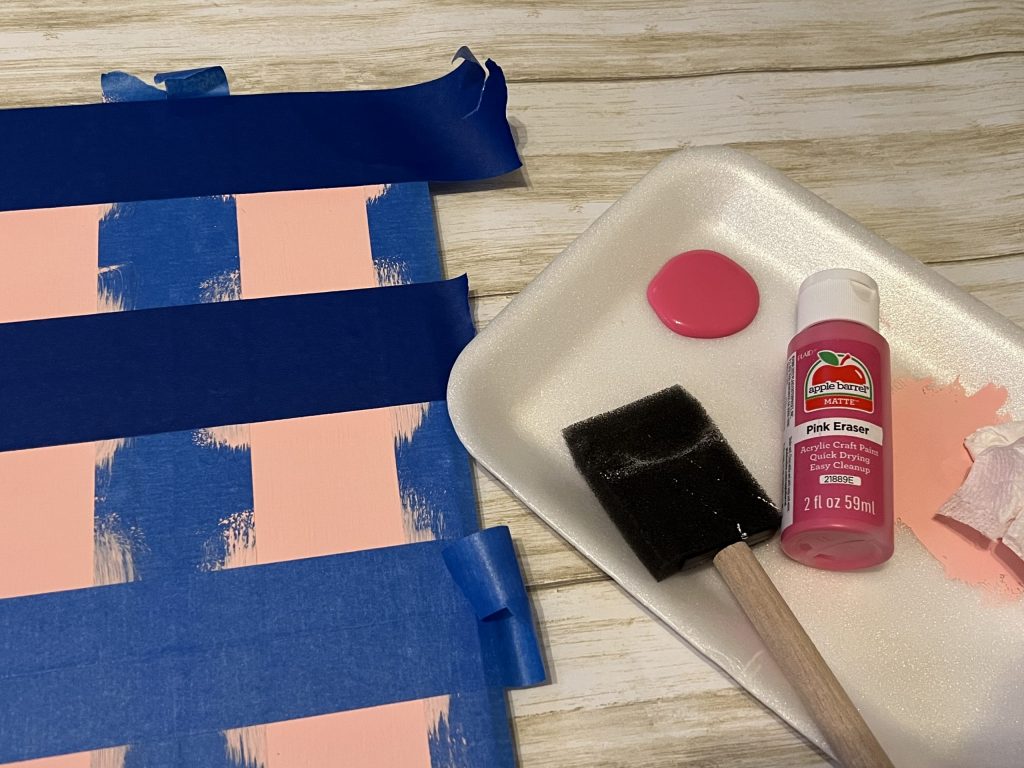
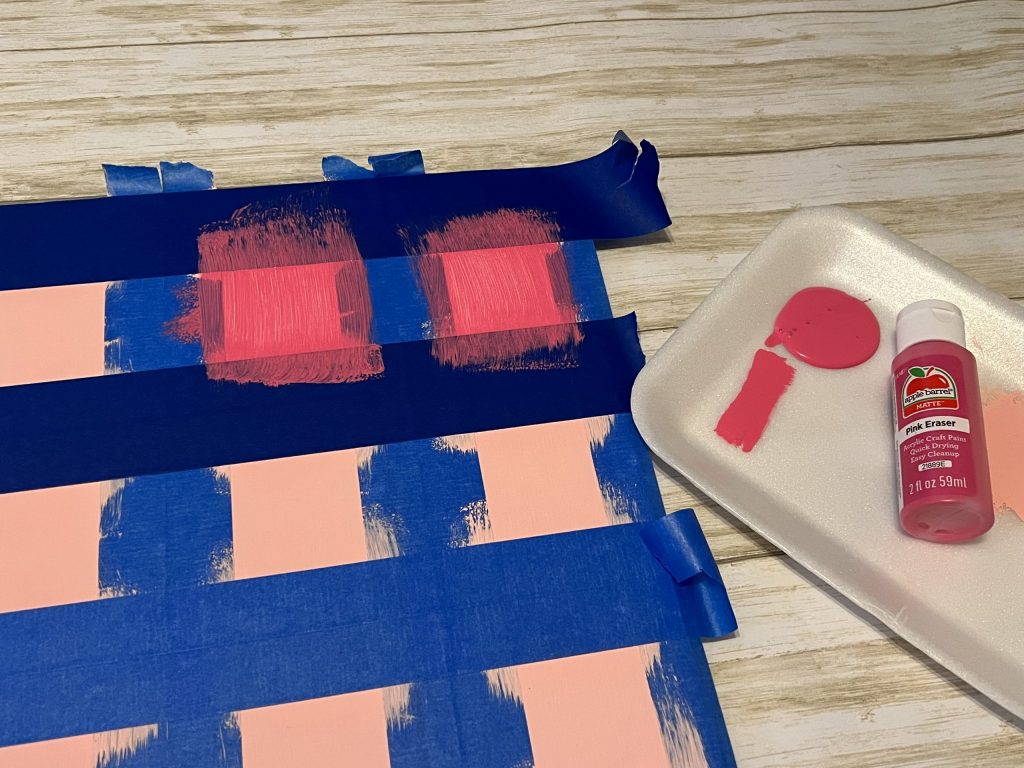
I painted two coats to achieve the color I wanted.
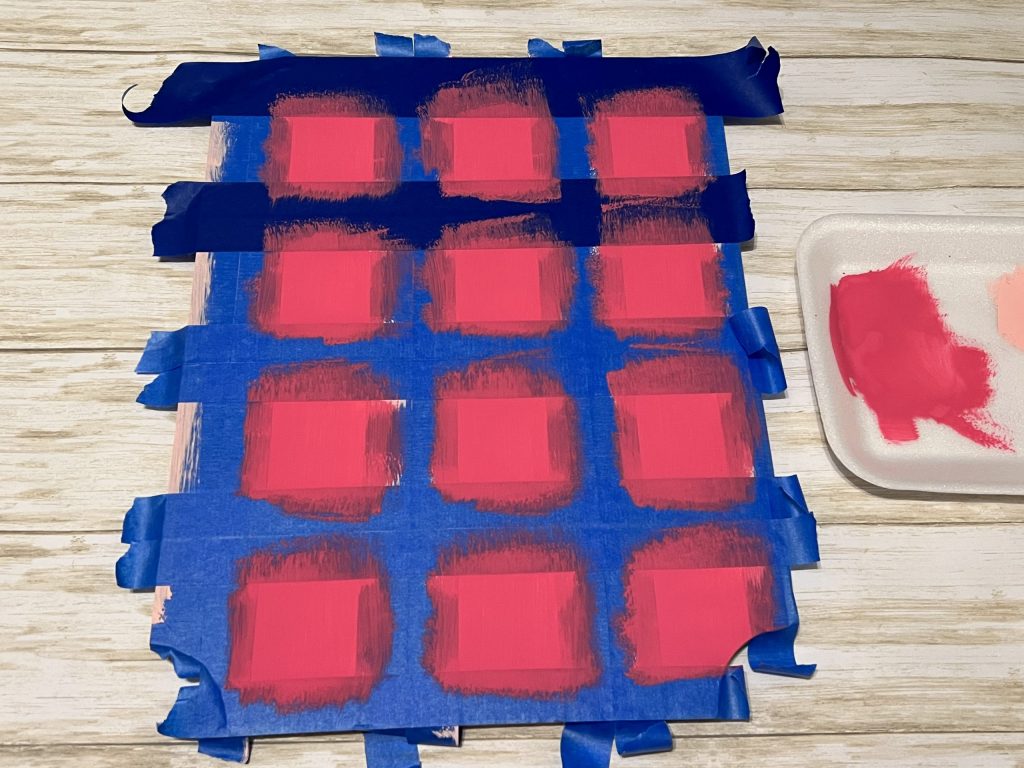
Now, for the final reveal! After the paint has dried, slowly and carefully peel the tape away.
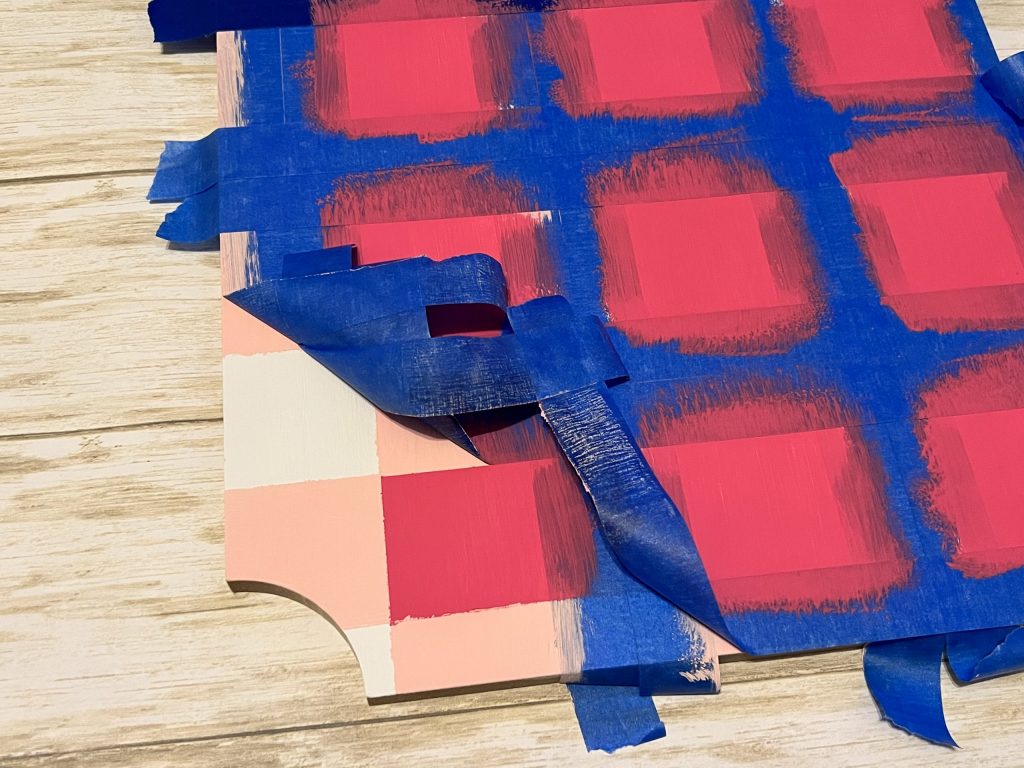
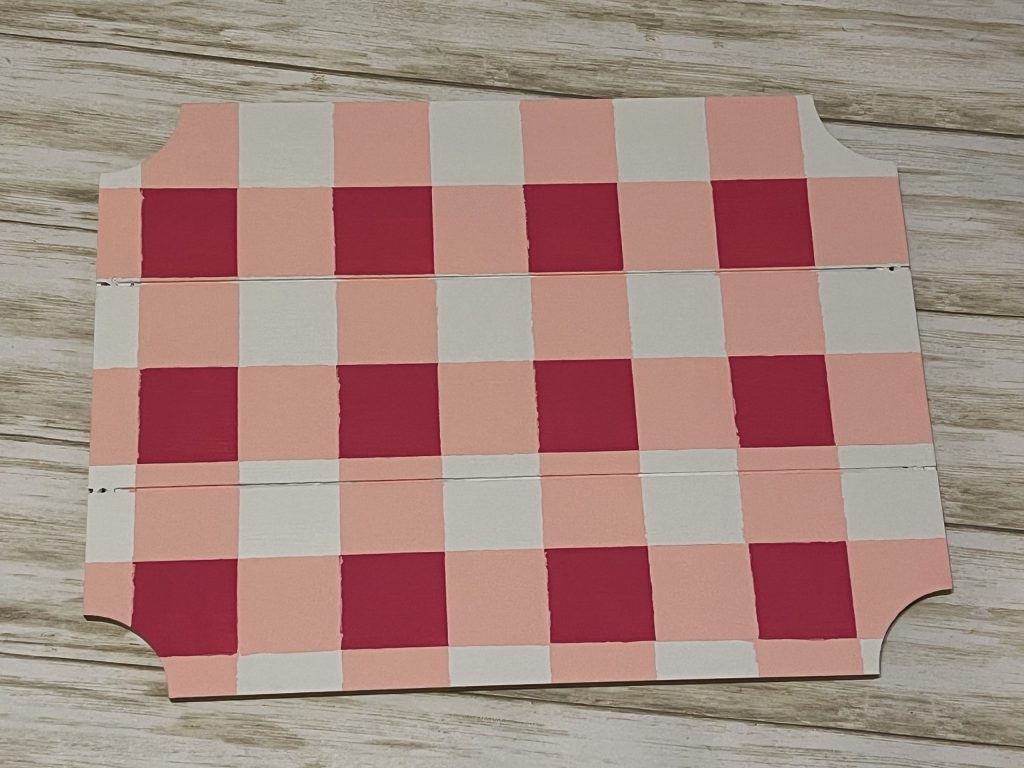
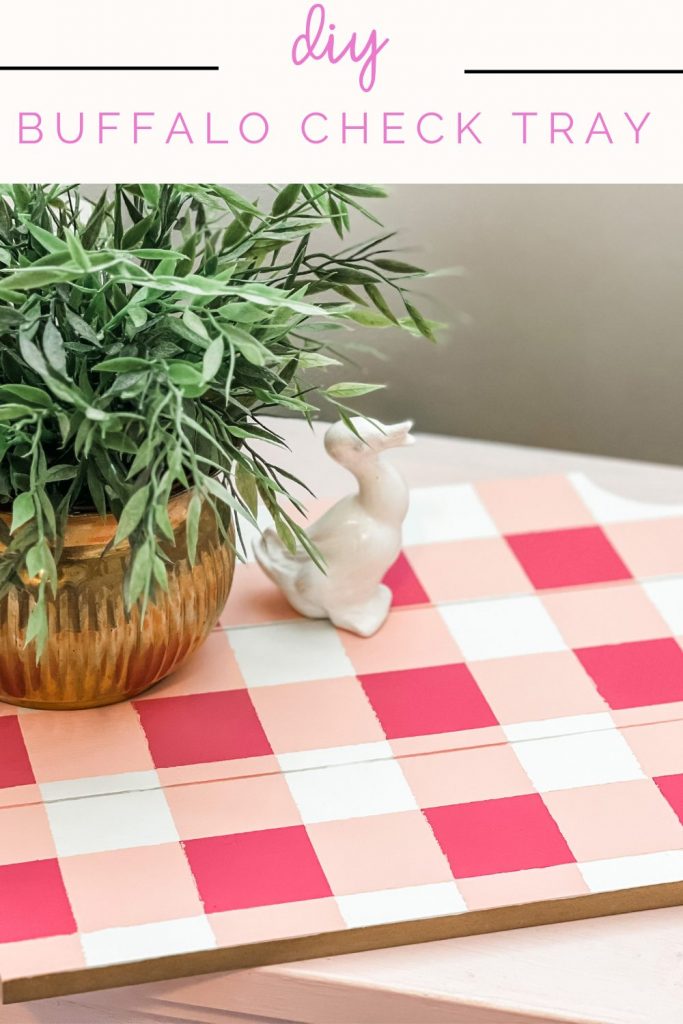
Y’ALL, how precious is this print?!!! I love it!
I screwed the gold handles back on the tray, and it was done!
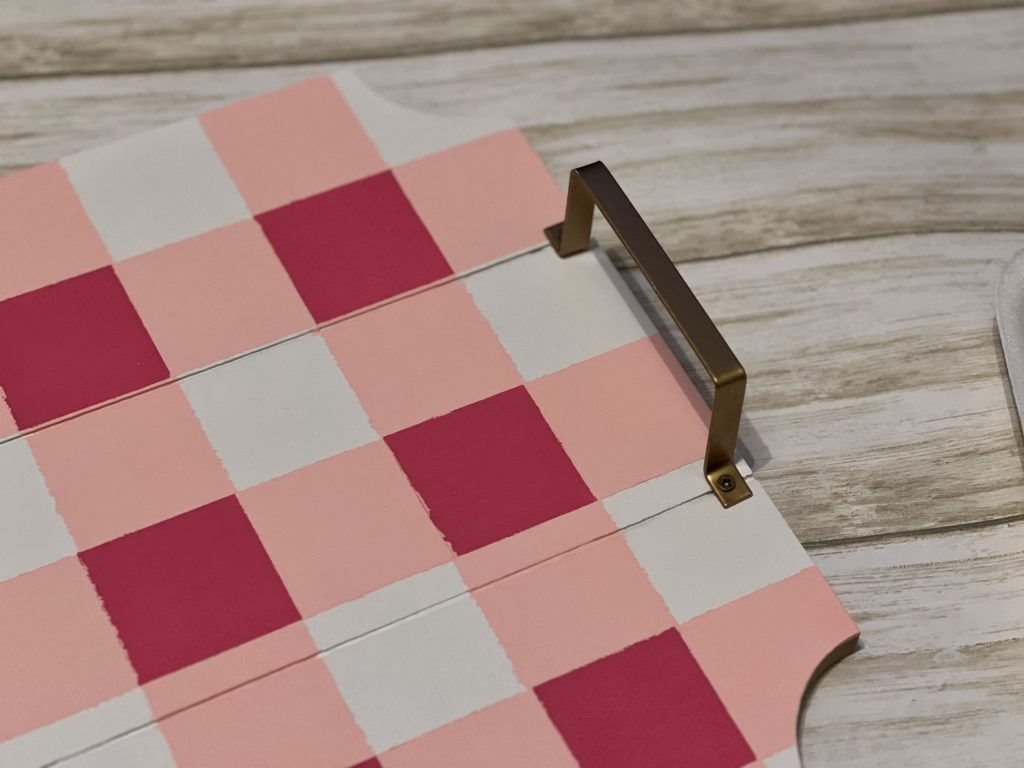
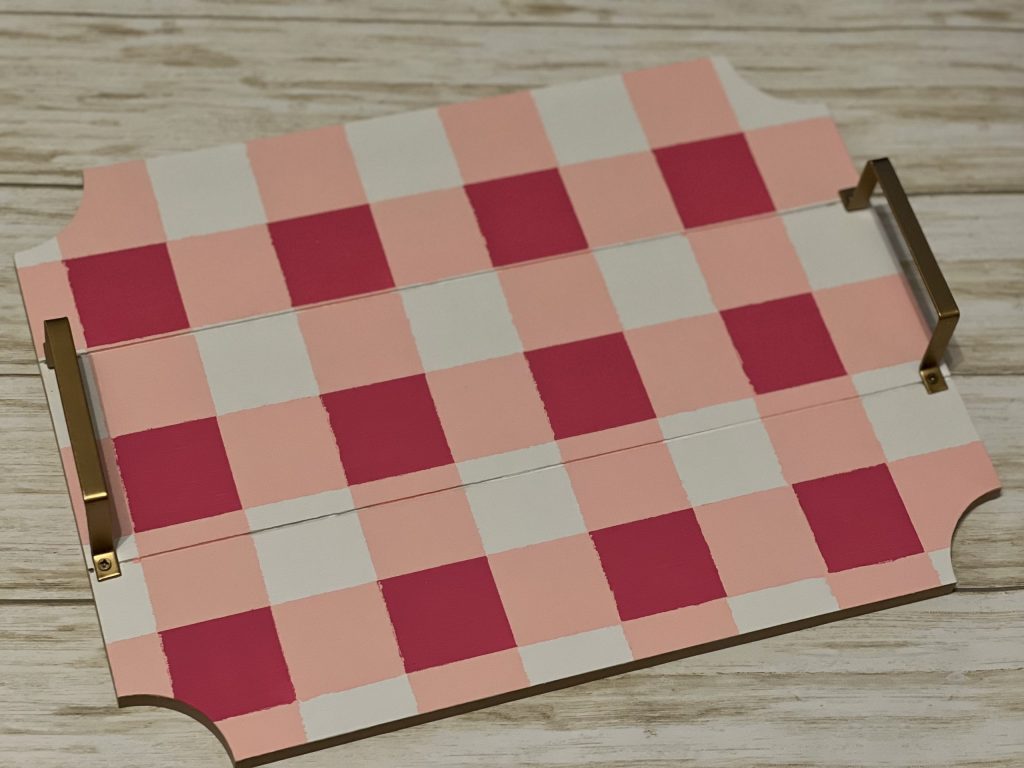
Is it perfect? Definitely not, but I couldn’t be happier! It’s so unique, and I haven’t seen anything like it in stores!
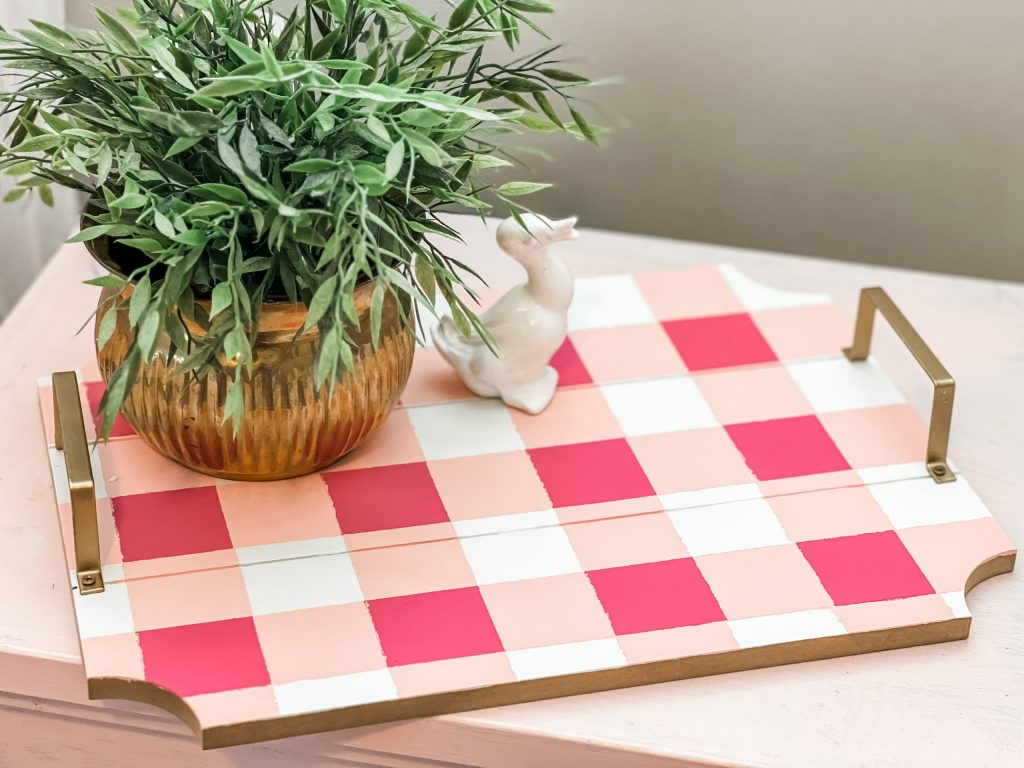
Paint can truly transform anything! Painting the buffalo plaid pattern on this tray was much easier than I thought it would be. I am thrilled with the results!
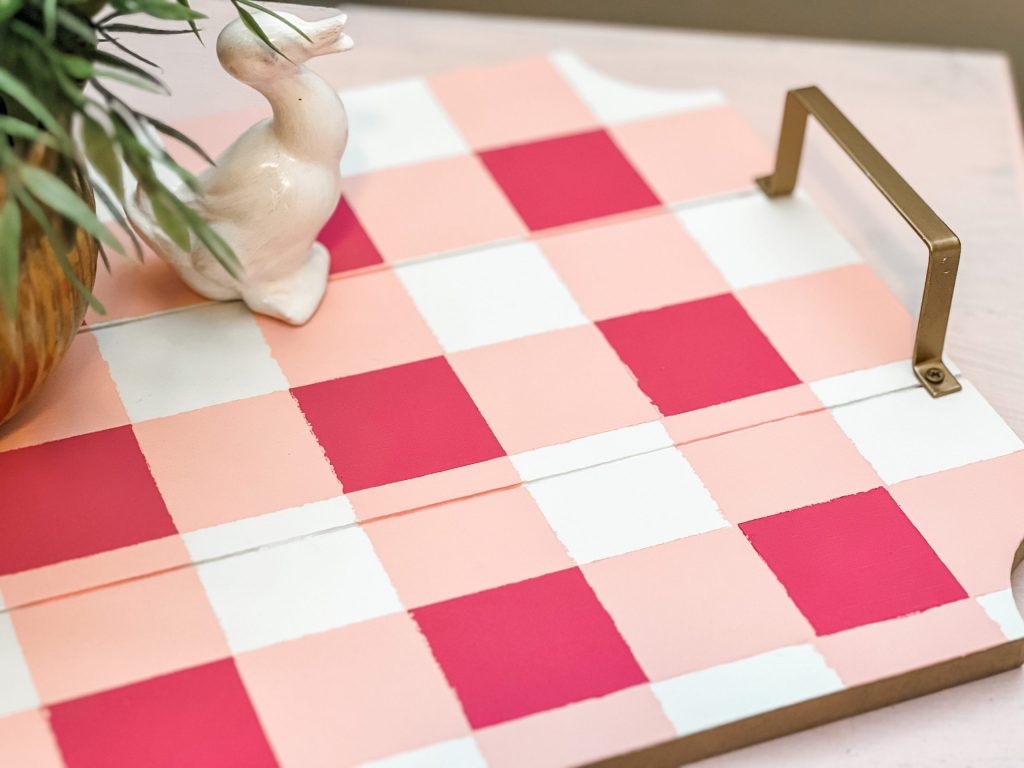
I am going to use it as a tray, but think of all the possibilities. This would be beautiful with a gold monogram in the middle.
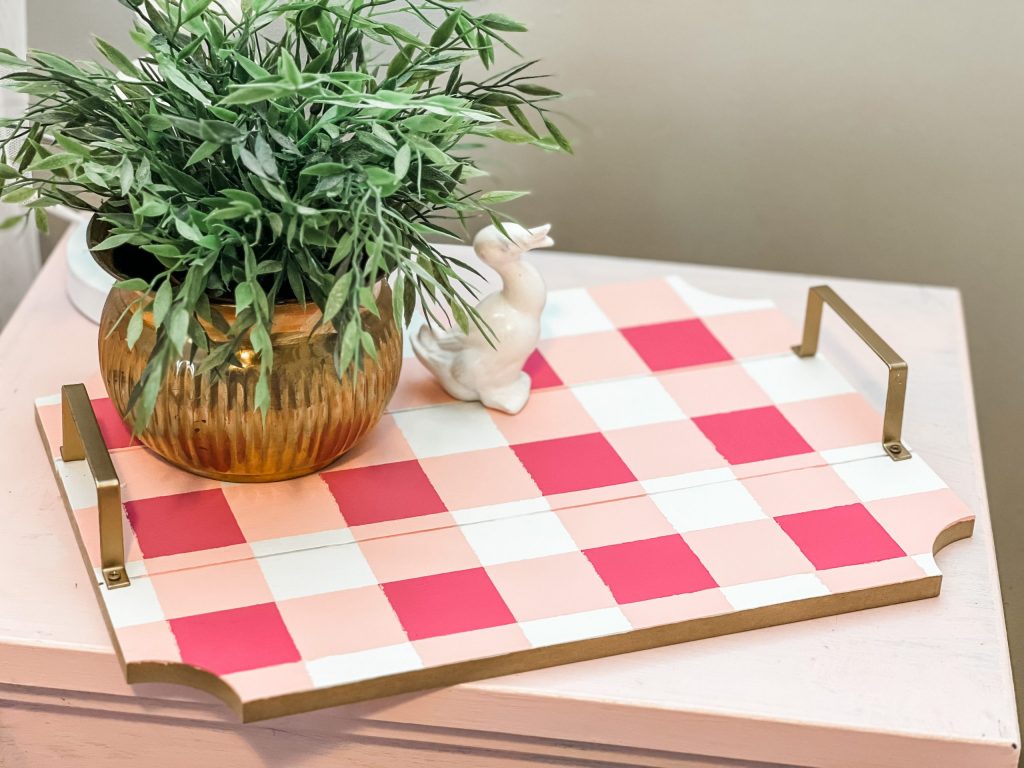
Where would YOU use this? Have I convinced you to paint something with buffalo plaid? I hope so, because this was definitely a fun project!
Last Updated on March 28, 2023


Very cute tray. And it’s nice to have a different color of Buffalo check!
Wish I had your out of the box thinking to come up with projects like that! ❤️
Love the buffalo plaid tray. Looks so cute and springy and pink dye to do not use buffalo plaid as much as I used to, but still love it.
Hi Brooke! I just love this tray remake!
I would love to make it one for myself – maybe I can
Thank you for the DIY!
Love it!
Great way to upcycle into something fun and “new”!!
I love this beautiful tray makeover!!! Wow! How easy a project!!! Looks great! Yes definitely, will be doing a buffalo plaid tray, for sure!!!
How fun is this !! Would make an awesome present with a few other items wrapped up in a beautiful package.