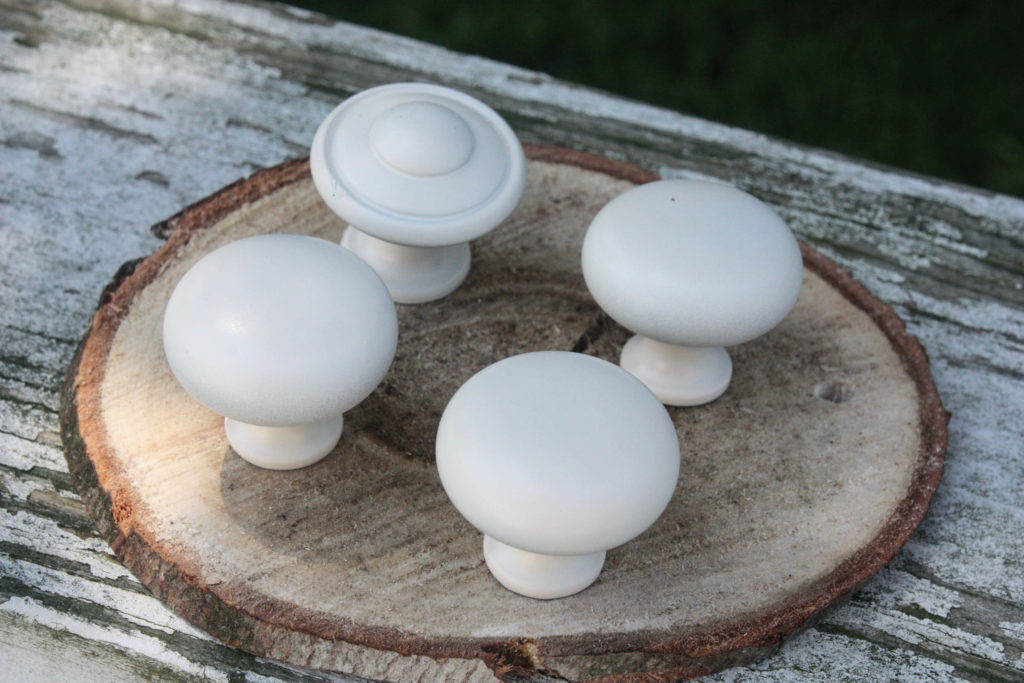
Do you ever go to clean out a closet and while you should be throwing things away, you end up finding something that sparks an idea in your mind that you just can’t shake?? Maybe it’s just me. In fact, I am a little weird, so it probably is. You see, while I was cleaning out my “decor closet”, I ran across several brushed nickel knobs that I had kept, just in case I ever needed them. They had been leftover from projects throughout the years, and some of them were even given to me with a piece of furniture I got from my husband’s cousin. I knew that ONE day I would use them {or at least that is what I always tell myself!}.
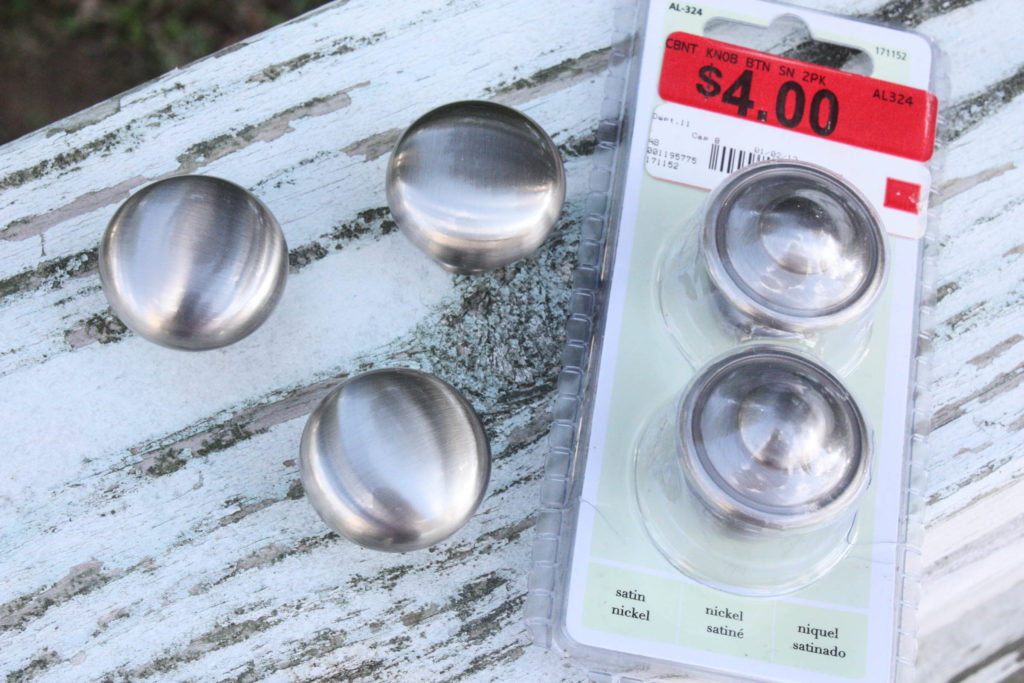
I had pumpkins on my brain because it was July, and after all…fall was right around the corner! LOL. **Let me be fair, in a blogger’s mind, fall is right around the corner in July. You see, we have to start getting content ready then so that it can be on Pinterest for YOU to find it when you are ready for ideas!**
So, anyway…I had pumpkins on the brain, and these looked like the perfect “stems” to me. At that point, I had no idea what would be the base, but I knew it wanted to be something I already had on hand and was cheap! So, I started thinking…and as I pulled a can of cream of mushroom soup out of the cabinet later that day, it hit me! Tin cans would be the perfect “pumpkin”!
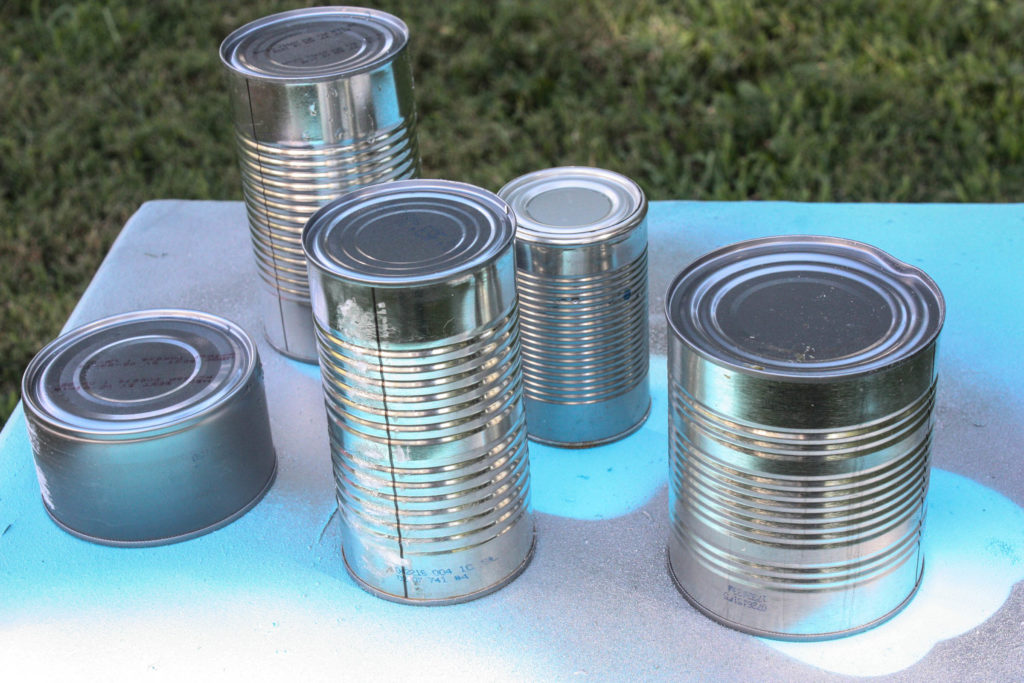
I started gathering cans of all sizes, and I ended up coming up with a pretty good assortment. **I used what was in the cans and then cleaned them out before using!**
If you follow me much, you know I am not a very traditional fall decorator. In fact, I am kind of the opposite. I love a different look, and I knew that these pumpkins would be no different.
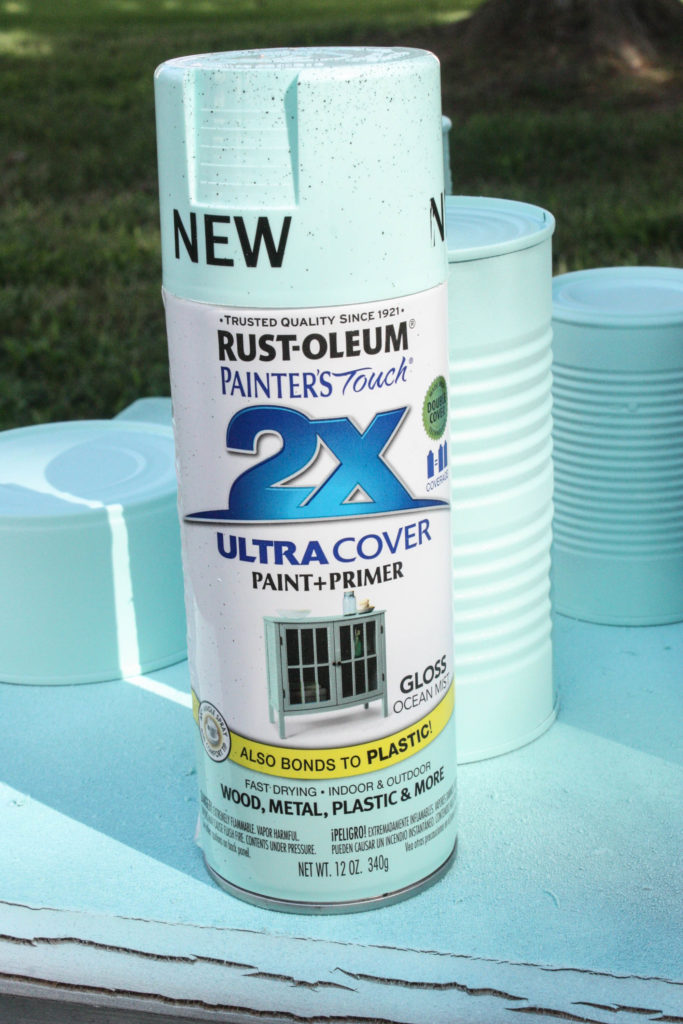
I am loving the mint/aqua look this year, mixed with some pretty yellows and whites…so I found my favorite spray paint and got to work.
I simply sprayed this awesome paint onto my tin cans, and within a couple of minutes, I had full coverage. This paint truly is great because of its built in primer!
I can say that it was love at first sight with the color of the cans, but I still wasn’t sure how I would truly make them look like a pumpkin, since they weren’t your traditional orange.
I went ahead and spray painted my knobs, so they would at least have some stems…and after that is where I kind of went blank for a couple of weeks.
When I sat the knobs on the cans, they looked so cute…but they didn’t look like pumpkins. They didn’t really look like anything. I knew they had potential, but I just really didn’t know what to do next. I felt stuck. So, I sent a picture to my pal Katie at Fun Home Things and asked her what her thoughts were. She really liked them, but thought they needed more {like me}. She mentioned the idea of a face, and that is the same idea my husband had mentioned too. I have to be honest, I wasn’t sold on that idea at first. I am not an artist, and I couldn’t imagine drawing faces on these. Plus, I thought they would look silly if I tried to do that to them.
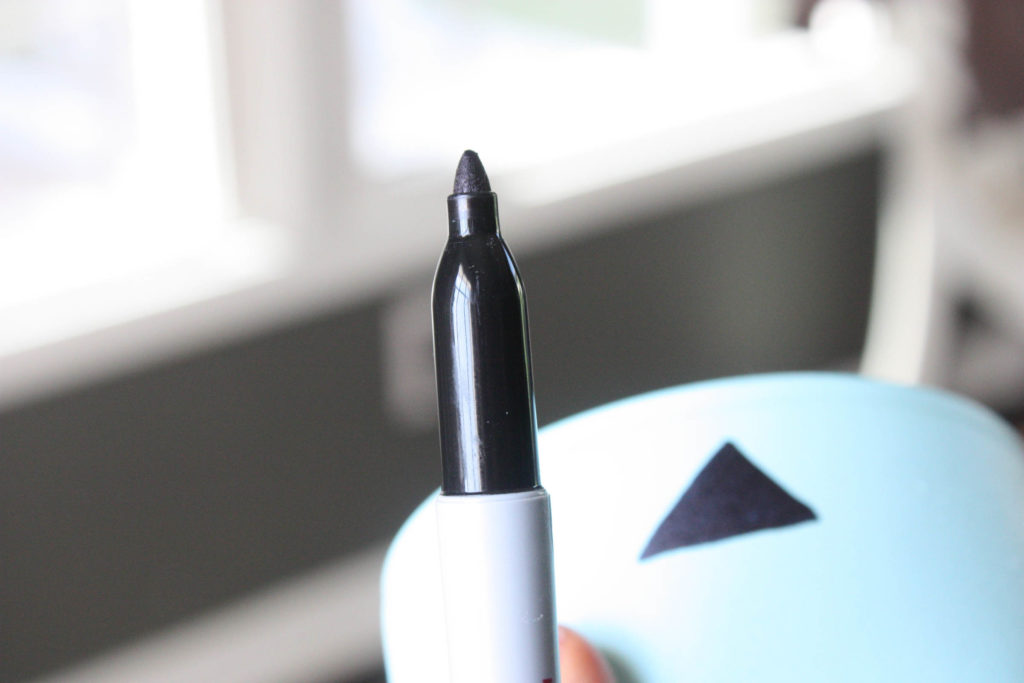
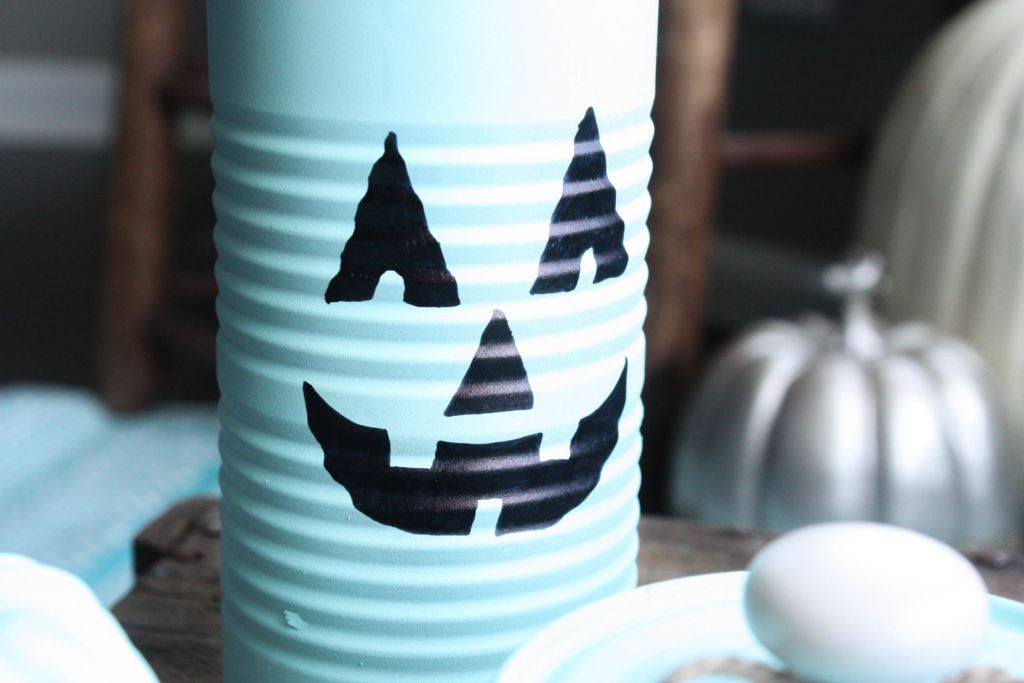
BUT…..as time went on, I finally decided to go ahead and at least give the face gig a try. I hopped on google and searched “jack o lantern faces” and TONS of images popped up. Holy cow. I can’t draw these myself! Like seriously, I am no artist. But, I grabbed my sharpie and decided to give it a try anyway.
And guess what?? I drew the faces all by myself…and they weren’t half bad. So, if I can do it—YOU can do it! Thanks Katie and Brandon!
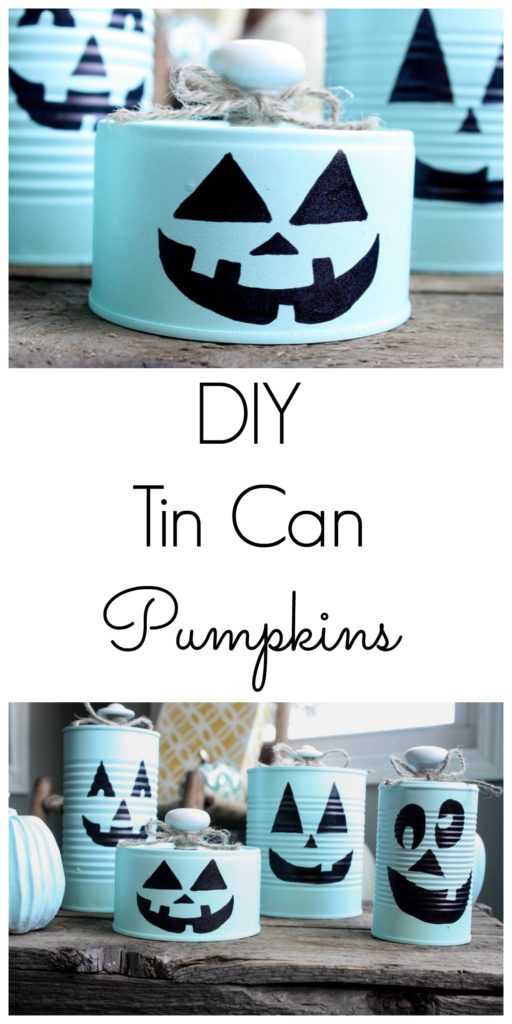
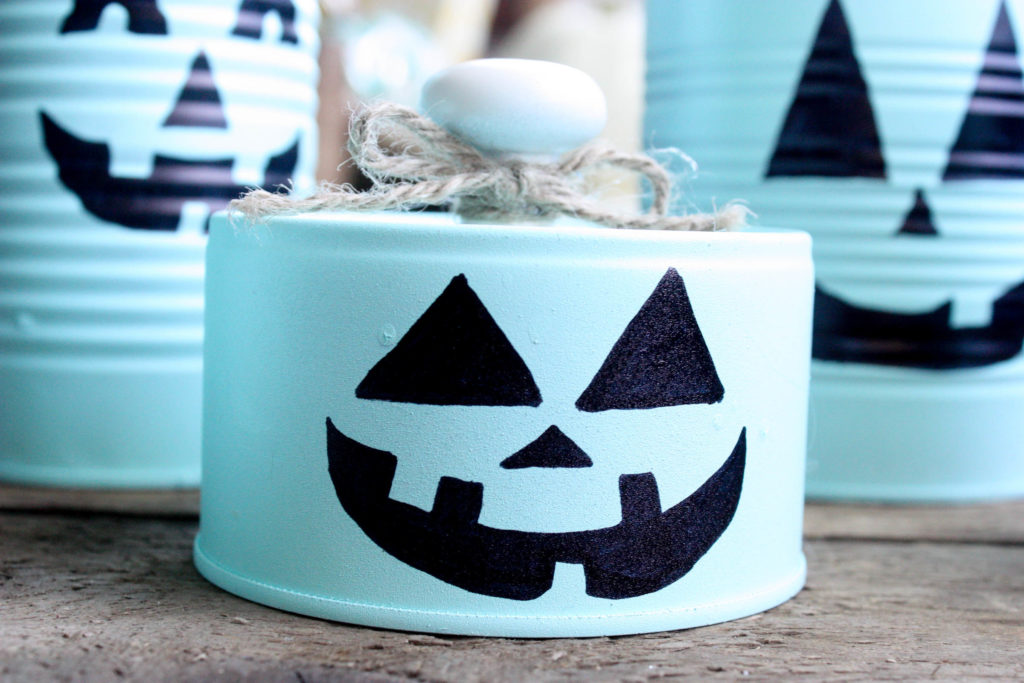
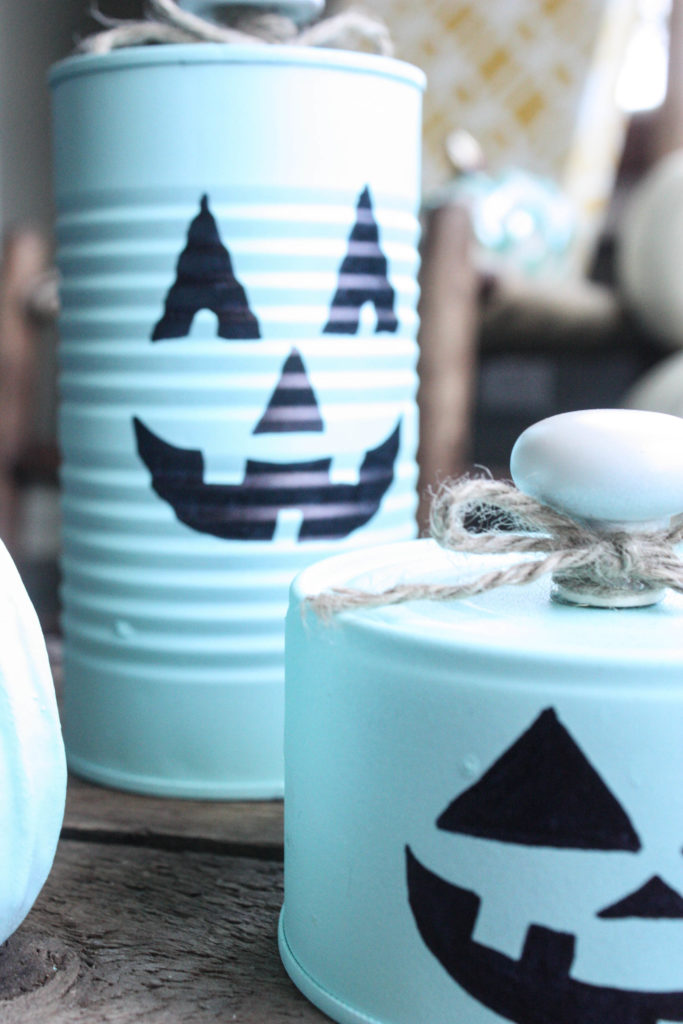
After drawing different faces on 4 of my cans {the other can didn’t make the final cut}, I hot glued my knobs on top of the cans. I then decided to add some twine to my “stem”. I simply took a hot glue gun and dabbed a small amount on the end of the twine and twirled the twine around the knob until it went around several times. I then dabbed the end one more time to make it stick. After that, I made a small bow out of twine and glued it on top of the other twine. Simple as pie!
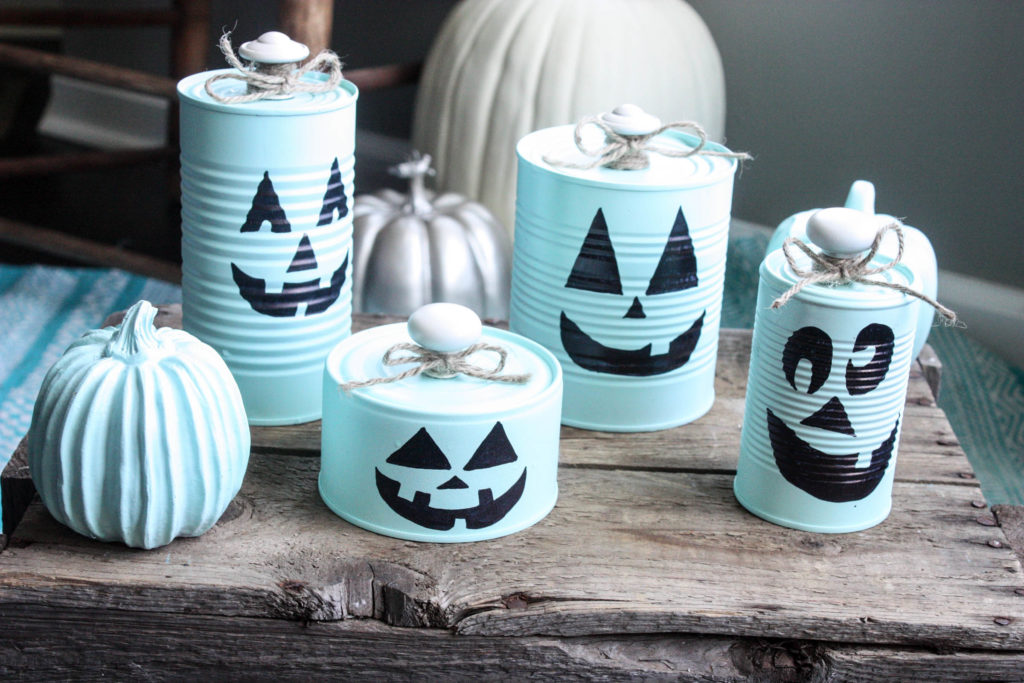
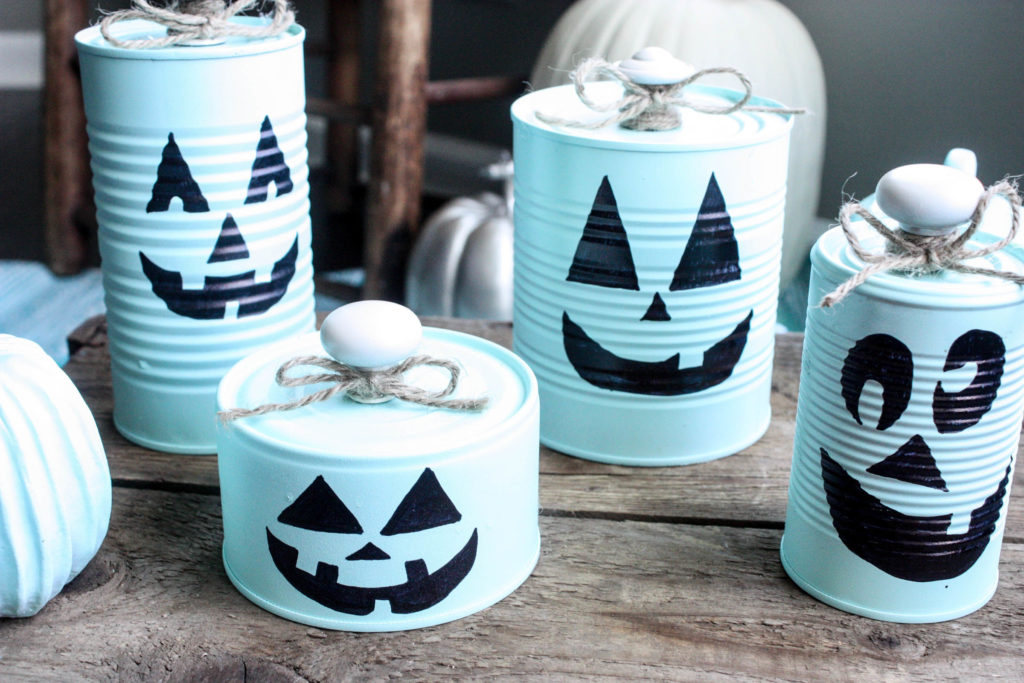
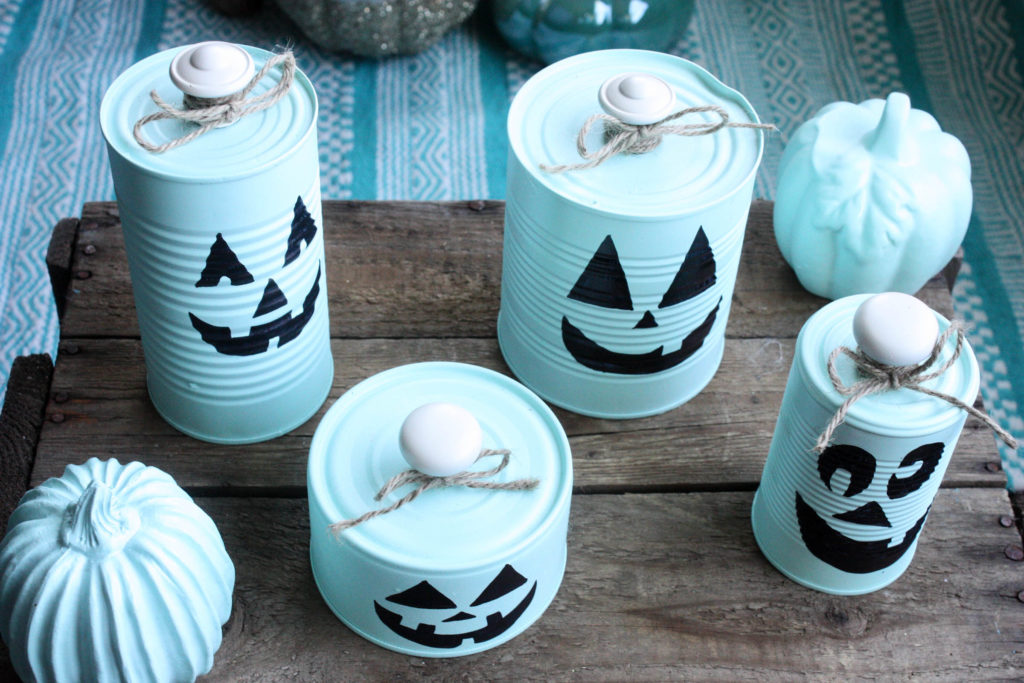
So, here is my little tin can pumpkin patch!
Well, what do you think? It is so simple, yet turned out too cute! Kids love these. Mine thought I was so cool making those different faces!
Do it Yourself!
Supplies Needed for this Project: {Some affiliate links are used for your convenience}
Tin Cans {any ole soup cans, etc… will do the trick}
Old Knobs
Black Sharpie
Did you like this project? Pin it for later! Or…Share it with your friends!

Last Updated on September 21, 2016



These are so cute and I’m loving the non-traditional color scheme!
Thank you SO MUCH!
Wait did you empty the cans first or left them being whole cans?
I emptied them and cleaned them out. I totally need to add that to the post for sure!
Sooooo CUTE!!!
Thank you!!
The pumpkins are so cute. I love crafts from the unexpected.
Thanks so much! 🙂
Oh my gosh Brooke! These are so cute!!!!! Sharing and pinning!
Aw thank you so Much, Stephanie!
I am older and no kids around for Trck or Treat. Did not want to buy pumpkins to have to throw away. These are perfect right down to the paint color.
Will have the fun that I do making things.
Would love to see a picture if you do them 🙂
This is such a cute idea.
Thanks so much, Tasheena!
I love this Brooke!!! Orange is not my favorite color. But I love decorating for holidays. Autumn brings too much orange for too long (Sept–Nov!!) So I try to do neutral colors whenever I can. These are my favorite color anyway and match what I accent with anyway so thanks for sharing this cute idea!!!
These are beyond adoreable! I love the color!
Thank you!!!