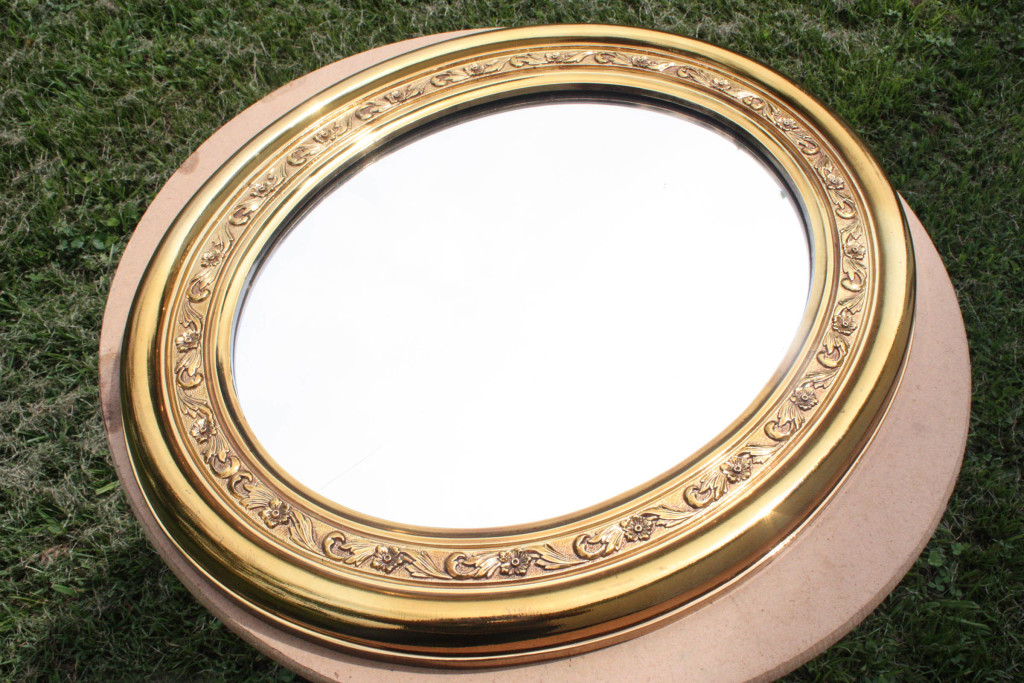
I am currently working on {among hundreds of other things} Eden’s bedroom. When I say working on, I mostly mean gathering pieces for her gallery wall and trying to figure out a plan for her furniture, etc.. It is nowhere close to being a reality, but I am working, nevertheless. While shopping at our local booth mall the other day, I came across a really cool bright gold mirror. It had pretty detailing, but I was not a fan of the blinding gold! At first I thought I would just paint the frame and use it as a mirror on her wall, but once I got home and my wheels got to turning, I changed my mind!
Here it is before:
I had just bought some chalkboard paint for another project, so I thought…hey! I could paint the mirror with that. I had seen 1000 people do stuff like that~I had just never tried it. So…I took the mirror apart and gave it a whirl!
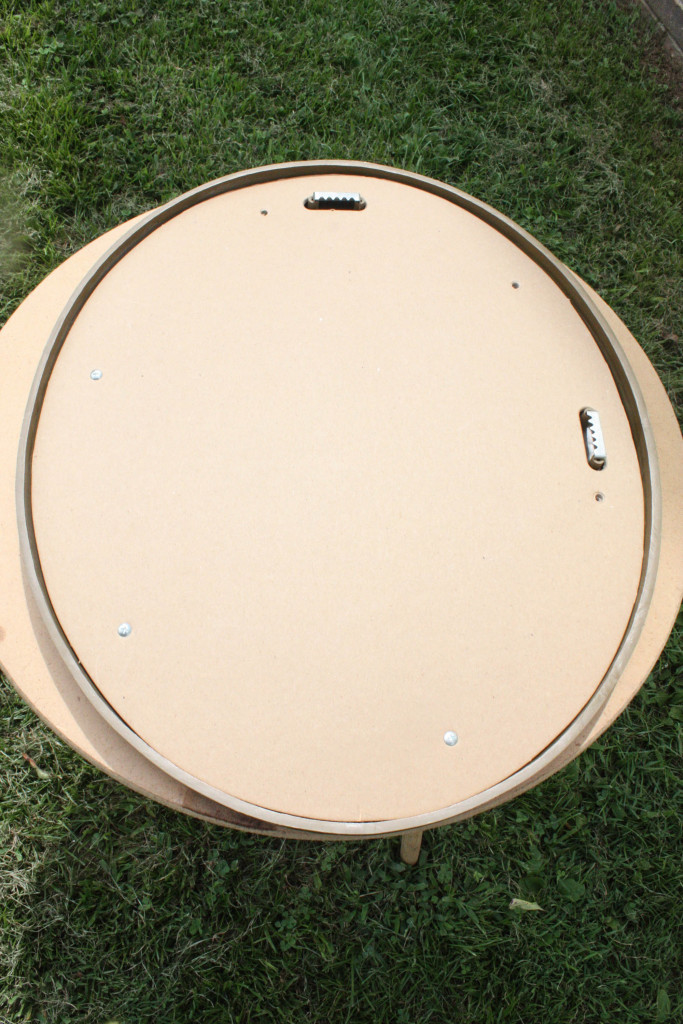
The back screwed off really easily, so the glass came out with no trouble at all. {I am not always so lucky!}
After removing the mirror and the backing, I started spray painting the frame. {I know I took pictures of this, but they are nowhere to be found! Sorry!}
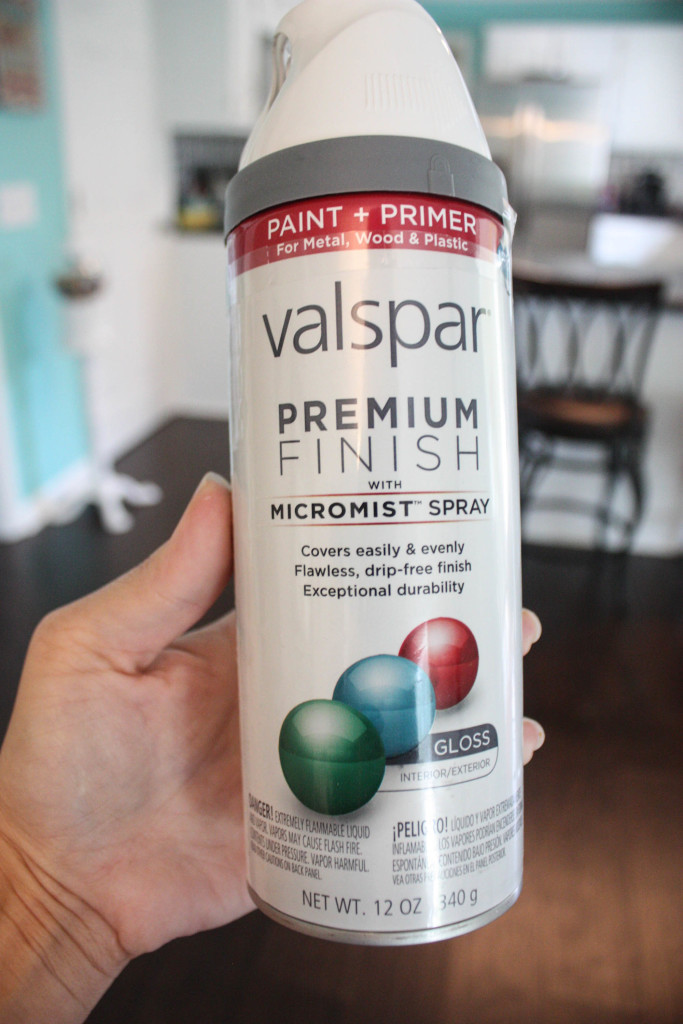
I do have a picture of the spray paint I used, though! 🙂
This stuff is awesome, let me tell you. It’s paint and primer in one, and it is so smooth. {Not an affiliate~I just really like it!}
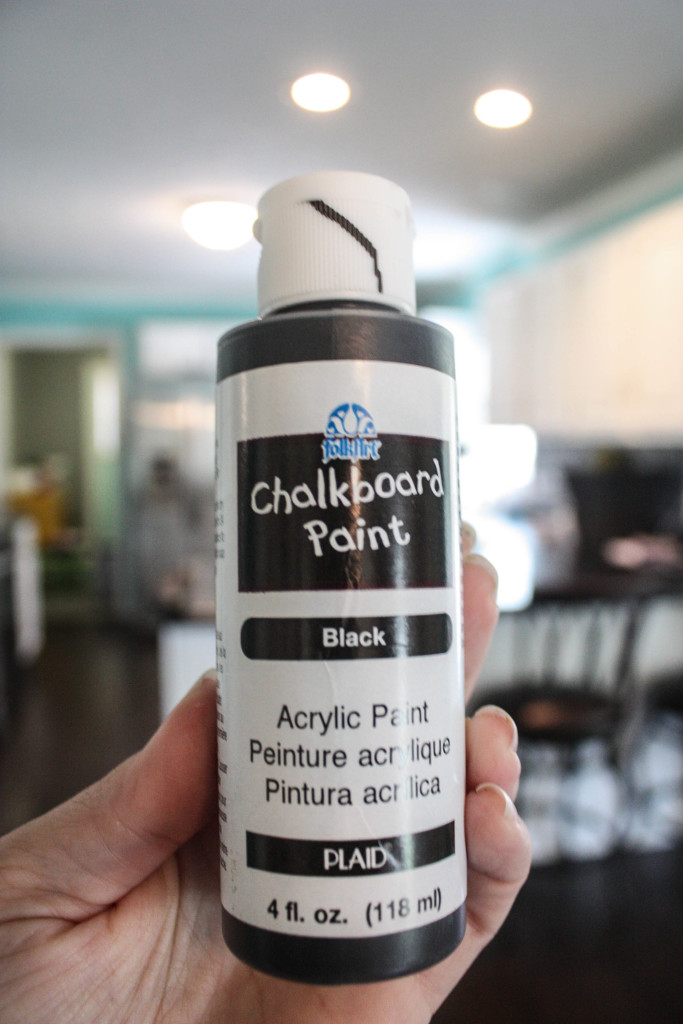
While the spray paint was drying, I started painting the mirror with my chalk paint! I got a small bottle at Wal-mart for around $2.50, and barely used 1/4 of it on this project…so it goes a long way!
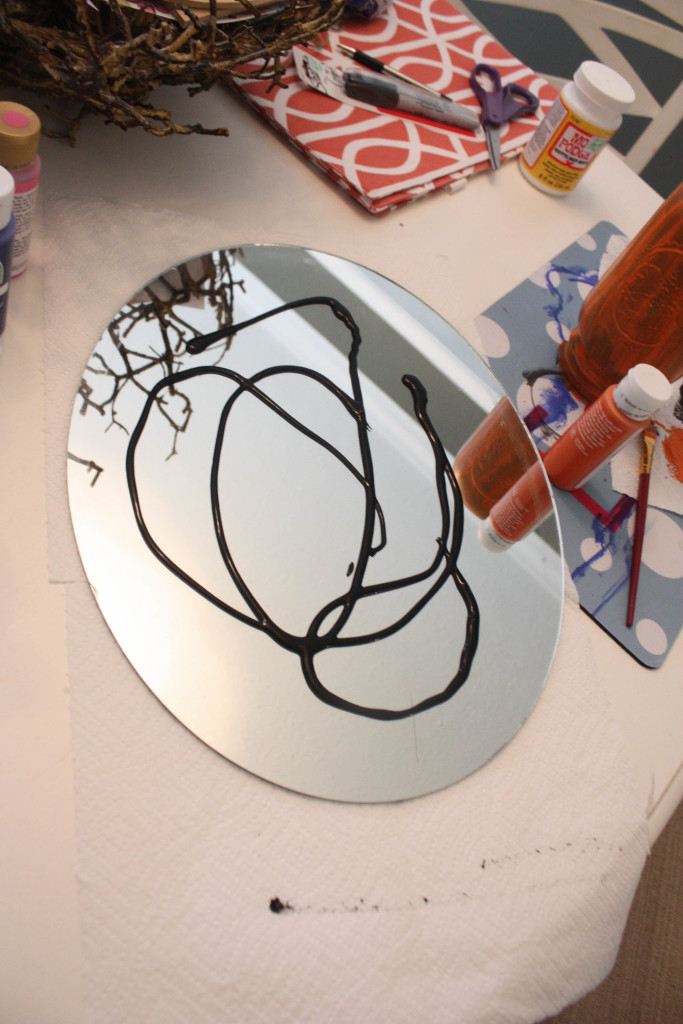
As you can see, I just squeezed it all over the mirror and then took my foam brush to smooth it out.
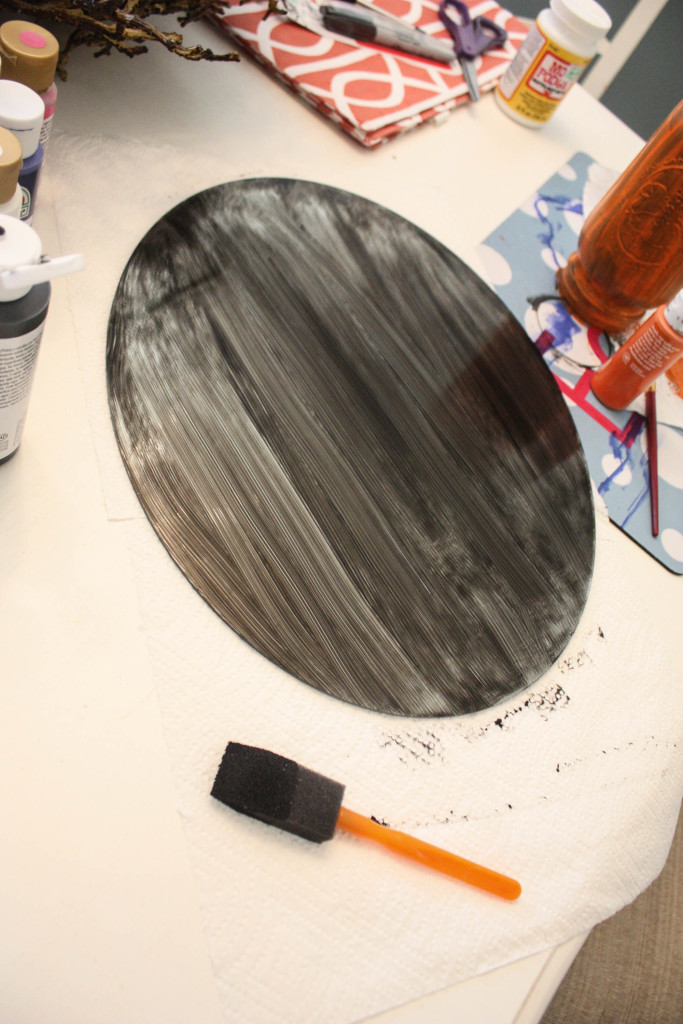
This is after the first coat. It actually took 2 coats total to cover completely.
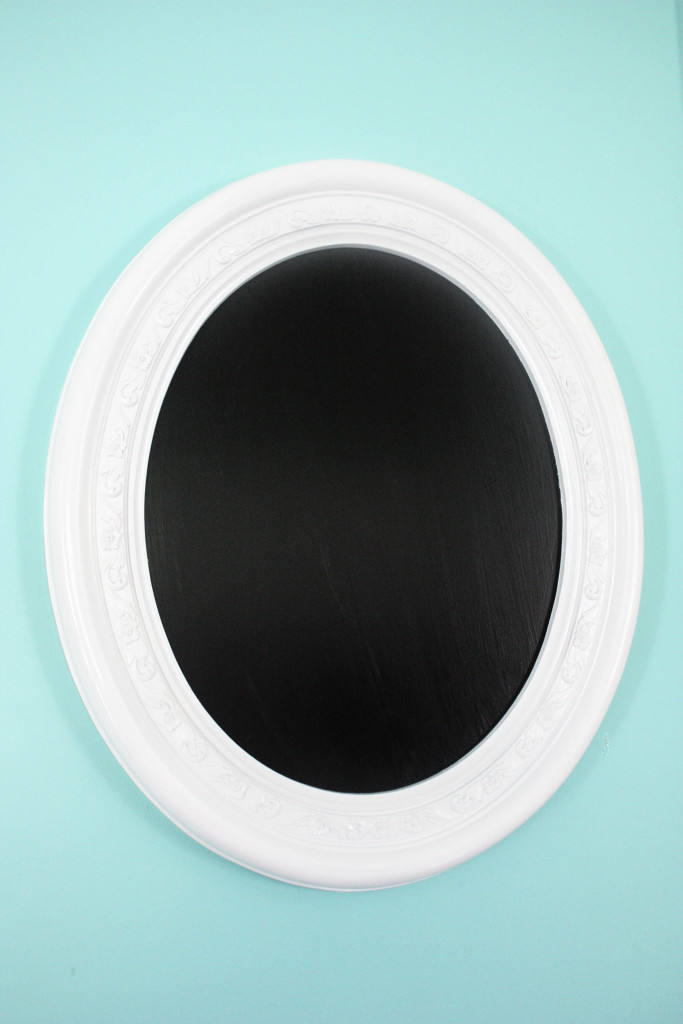
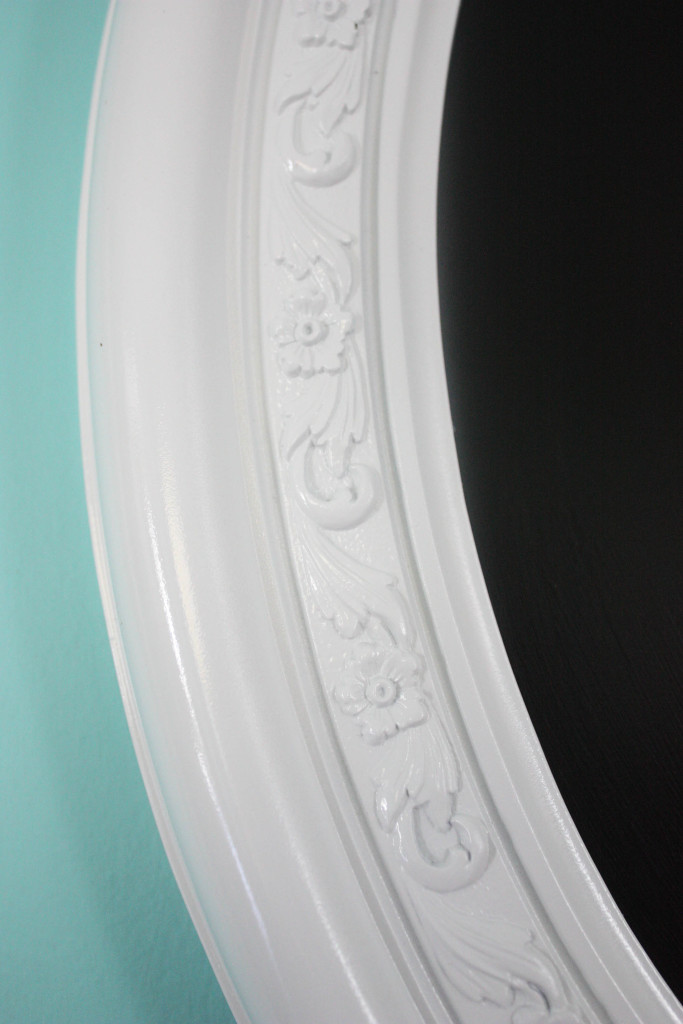
After all of my paint was dry on my mirror and my frame, I put them back together! Easy peasy!
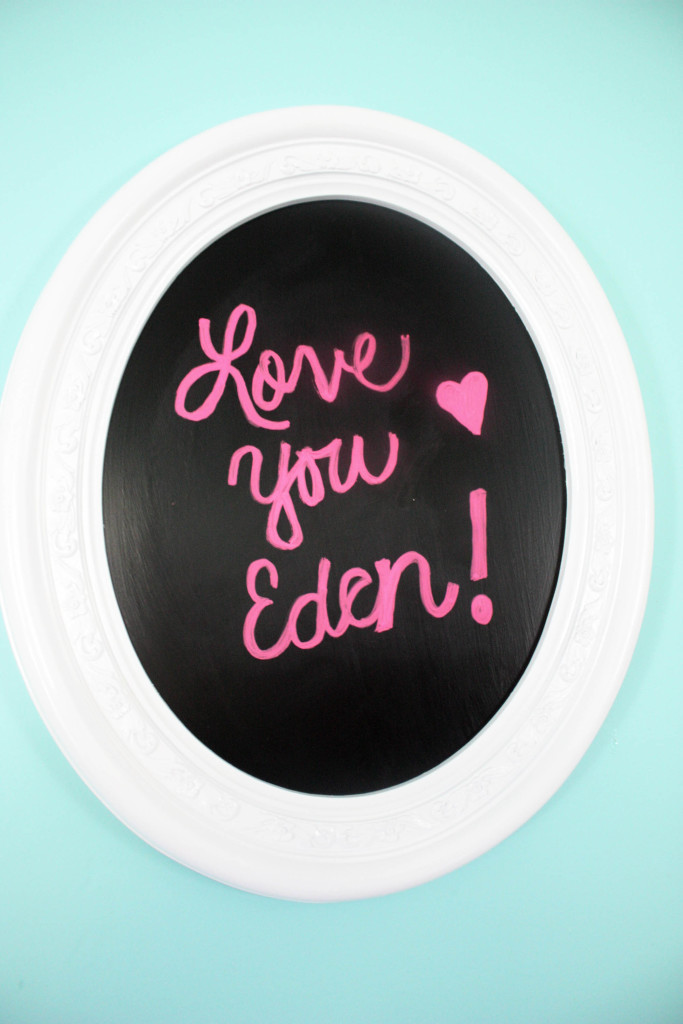
I had some liquid chalk pens on hand, so I gave my new chalkboard a whirl! Worked like a charm 🙂 It will look so cute on her wall one day! {I am not the best at writing with those pens! I keep hoping I will improve…but it doesn’t look likely!}
Doesn’t get much easier than that! All together, I would say this project came in around $5 max…including the paint. WINNER! Don’t ever discard something just because of the current color. Spray paint is AMAZING, and you can literally paint over just about anything!
Pin for Later!
Linking up at:
Last Updated on August 22, 2015


adorable xx
Thank you!!!
So cute! I think I have something similar in my basement. You’ve inspired me!
Thank you! Show a picture when you do it 🙂
Awesome makeover! Love the chalkboard!!
Thank you so much 🙂